
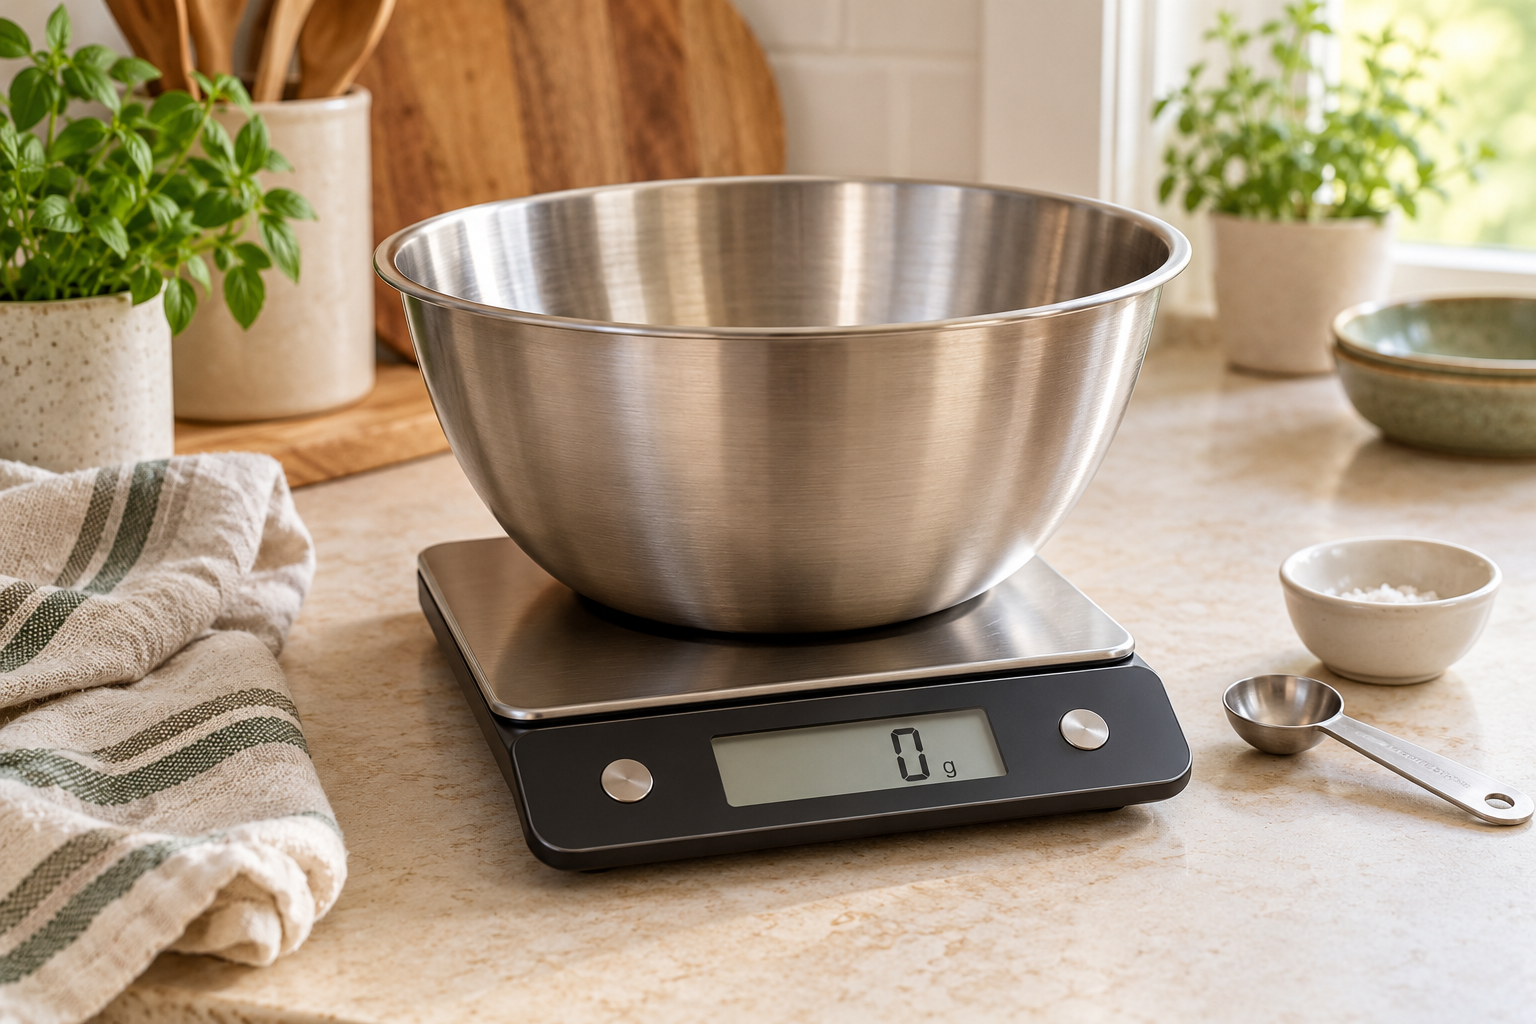
For most low-carb home baking, start with a digital kitchen scale that reads in 1-gram steps, has a tare button, and can hold your bowl plus the full batch. A 5 kg model is a sensible starting point for ordinary home batches. Choose a smaller-increment scale only if your recipes regularly call for tiny gram amounts—not because the box says “precision.”
You do not need a special keto scale. You need a scale that fits the way you bake: a display you can see under your mixing bowl, controls you can reach, and enough time before it switches off. Here is how we would choose one without paying for features that do not help the bread.
Start with the recipes, not the gadget
Look at two or three recipes you actually want to make. Do they give weights in grams? What is the smallest weighed quantity? Will you mix one loaf at a time or double the batch?
Those answers matter more than the number of modes on the display. A scale that handles 200 g of flour has a different job from one used to weigh 1.5 g of yeast. One device may cover both, but its specifications need to say so.
Weighing also makes a recipe easier to repeat. A scoop can vary with how an ingredient settles or is packed; a specified weight gives you a clearer target. King Arthur Baking recommends a digital scale for more consistent baking.
Use the gram amounts supplied by the recipe developer. If a recipe gives only cups, do not treat one universal “cup-to-grams” conversion as a fix: ingredients have different weights by volume. King Arthur’s ingredient weight chart is a useful reference, but the developer’s own measurements take priority. Weighing precisely does not make different flours interchangeable.
Three specifications that are not the same thing
- Capacity: how much the scale can hold.
- Include the container and everything already in it. Taring changes the displayed number; it does not make the bowl weight disappear from the load.
- Readability: the steps shown on the screen.
- A 1 g display shows whole grams; a 0.1 g display shows tenths. Extra digits alone do not prove greater accuracy.
- Minimum load: where the stated weighing range begins.
- Check this separately: the smallest displayed increment is not necessarily the smallest amount the scale is designed to weigh.
Instrument manufacturer Mettler Toledo distinguishes readability from minimum weight and accuracy. You do not need laboratory equipment for bread, just specifications that fit the task.
Should you buy a 1 g or a 0.1 g scale?
Choose 1 g steps for the main mixing bowl
Our default is a straightforward whole-gram scale for the larger quantities in an ordinary loaf recipe. Prioritize capacity, stable bowl support, and easy-to-read numbers. Keep measuring spoons for small quantities when the recipe specifies them; King Arthur also recommends spoons for small measures.
Choose finer steps when your recipes actually require them
Suppose a recipe calls for 3 g of an ingredient and you halve it. The new target is 1.5 g. A whole-gram display cannot show that target. A scale designed for small amounts is the more appropriate tool—provided its minimum load and stated range cover the job.
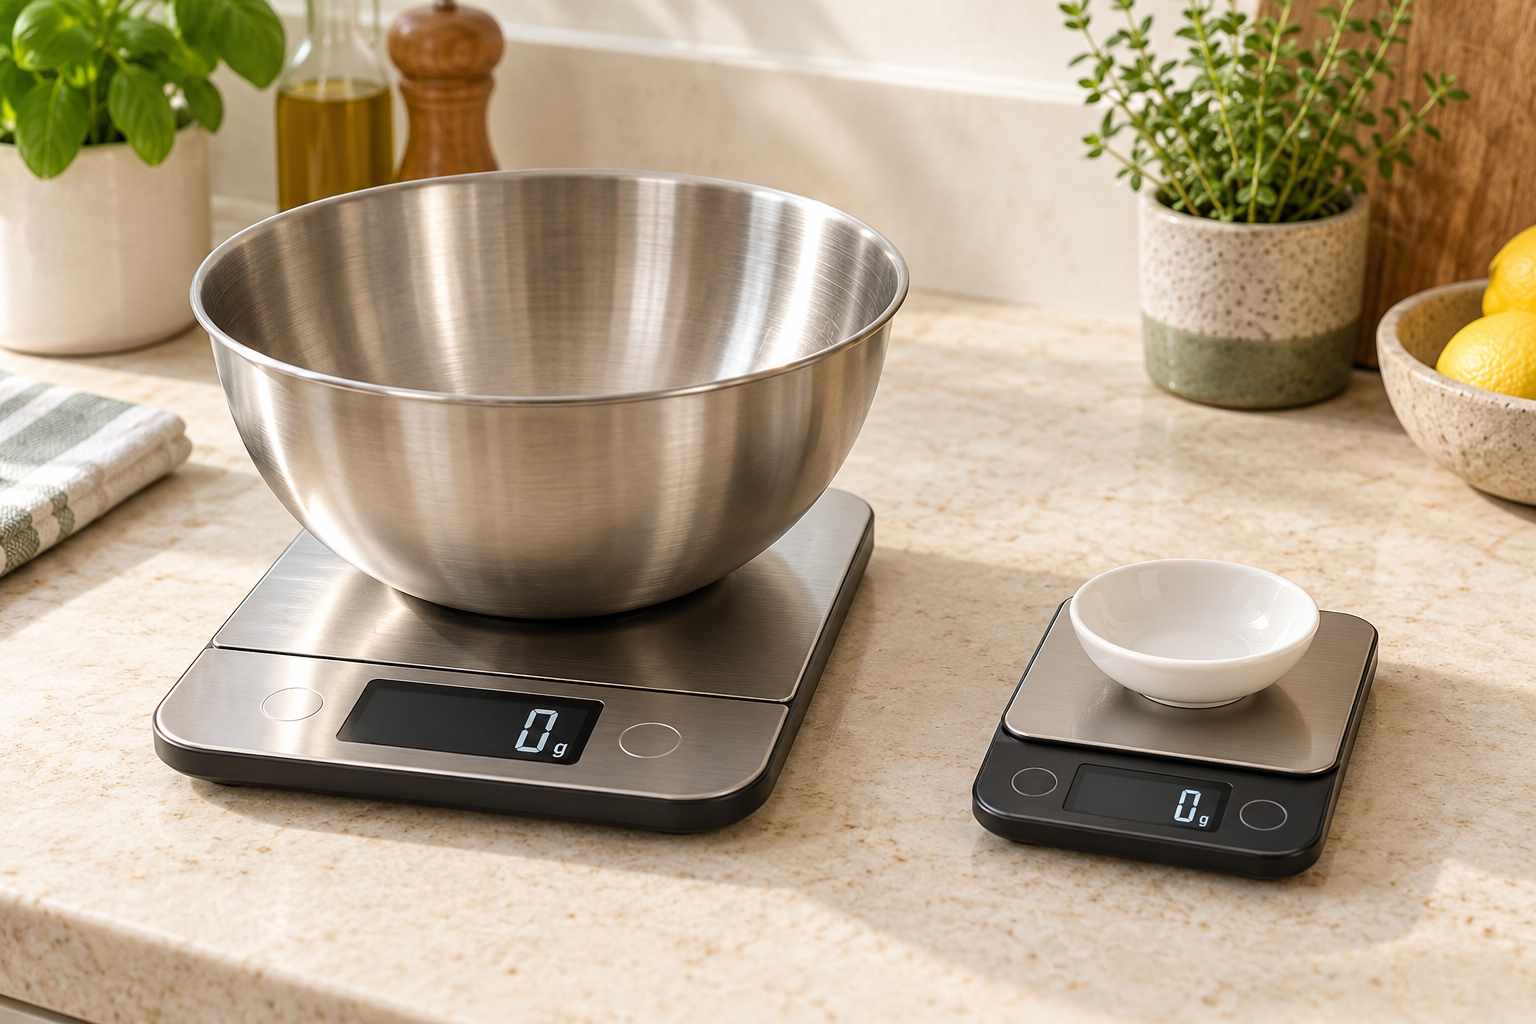
You can buy a smaller precision scale alongside a larger bowl scale, or choose one model that handles both tasks. Do not sacrifice usable capacity just to gain another decimal place. A tiny platform that works for a little dish may be awkward under a mixing bowl.
Do not upgrade a scale that already does the job
If your current scale produces stable readings, accommodates your bowl, and covers the quantities in your recipes, keep it. An app, a coffee timer, or a nutrition database is not required to weigh bread ingredients.
Capacity includes the bowl—even after tare
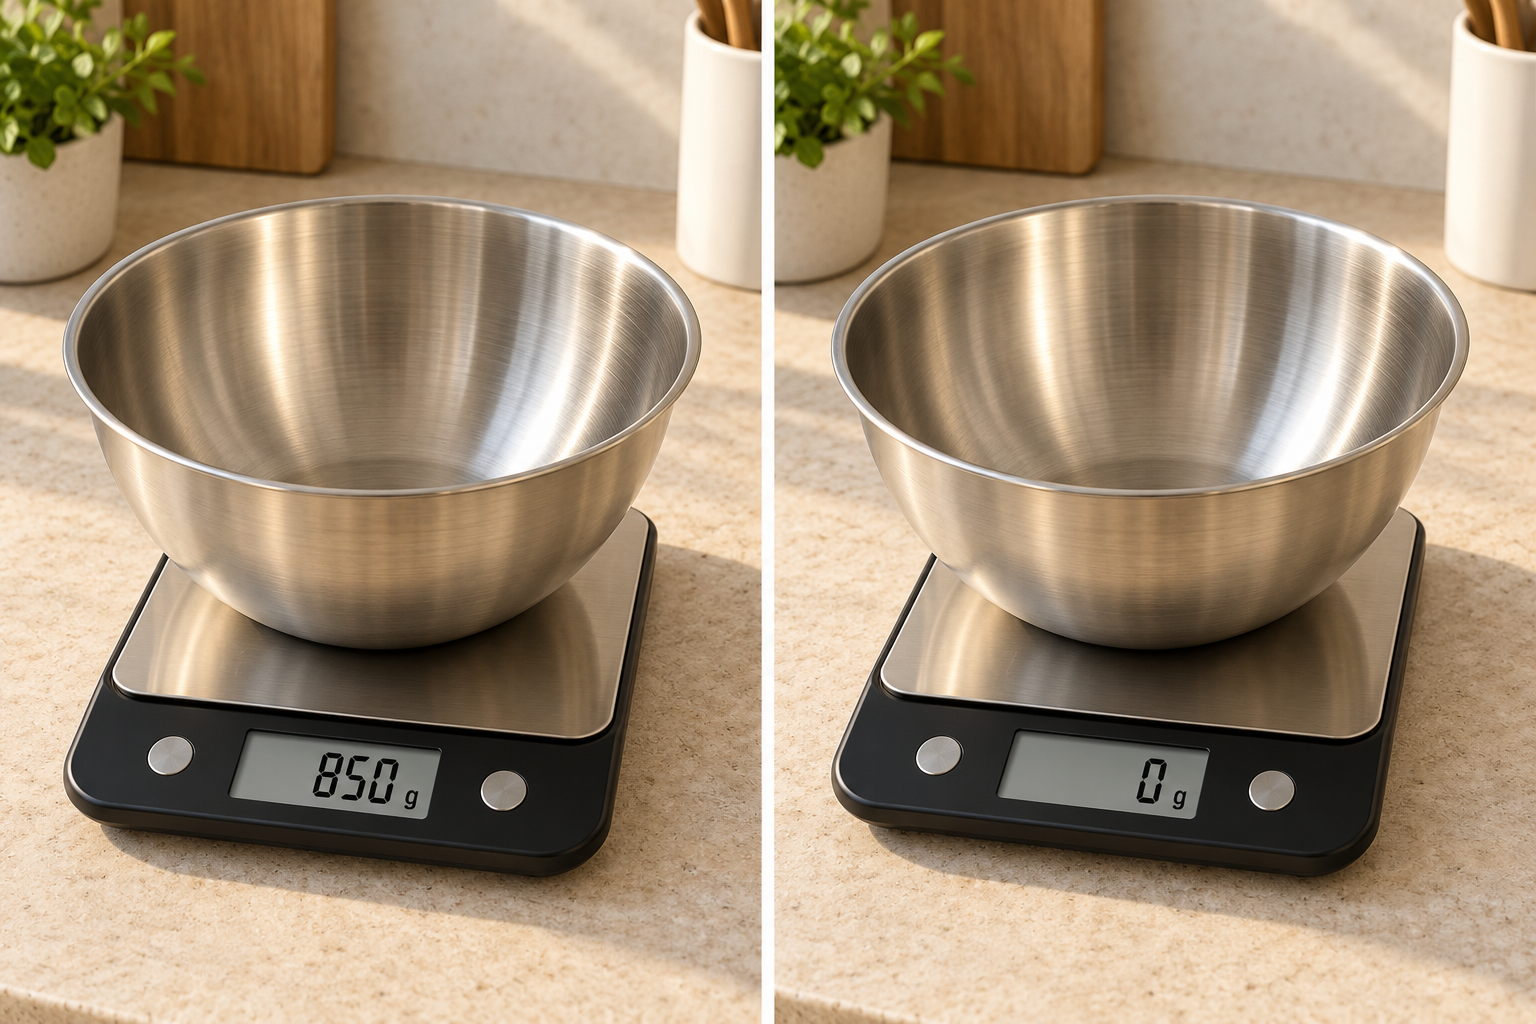
Here is a simple planning example, not a recipe: a 1,100 g bowl plus 900 g of ingredients puts a 2,000 g load on the scale. Pressing tare between additions does not reduce that load.
Before buying, weigh or check the weight of your heaviest usual bowl. Add the expected full batch, then leave some room rather than planning to work right at the limit. This is especially worth checking if you use a heavy glass bowl or make two loaves at once.
Our 5 kg starting recommendation is about convenience, not a rule that every baker needs that much capacity. A smaller-capacity model can be enough for a light bowl and small batches; a larger one may suit your actual setup better.
The features worth checking before you buy
- Display visibility: Picture your widest bowl on the platform. Can you still see the numbers? A projecting or pull-out display can solve this more effectively than simply choosing a bigger screen.
- Accessible tare and unit buttons: You should be able to zero the scale without lifting the bowl or accidentally changing from grams to ounces.
- Auto-off behavior: Read the manual. A dimmed display, standby mode, and a full shutdown are not necessarily the same. Check whether the reading survives an interruption.
- Easy cleaning: Look for a surface you can wipe and clear instructions for any removable parts. Do not assume a water-resistant control panel makes the whole scale washable.
- Practical power: Choose batteries, charging, or an adapter arrangement that you will actually maintain. A low-battery warning is more useful than a feature you never use.
Two real examples of the trade-off
These examples illustrate the specifications to compare. We checked OXO’s published descriptions; we have not tested either model ourselves.
For visibility under a big bowl: OXO 11 lb Stainless Steel Food Scale
OXO lists 1 g increments, a zero function, an 11 lb capacity, and a pull-out display. The display design is the reason to consider it if your bowl hides the screen on a flat scale. The trade-off is straightforward: it is still a whole-gram model, not the tool to choose specifically for fractional-gram targets.
For fractional-gram targets: OXO 6 lb Precision Scale with Timer
OXO specifies 0.1 g intervals starting at 0.5 g, a 6 lb capacity, and a tare function. That range suits smaller quantities, but the capacity is lower than the 11 lb model’s. Check your bowl and full batch against that limit. The coffee timer is a bonus, not a reason on its own to buy it for bread.
Compare these features with other models available where you shop. We would pay for a useful display or a genuinely needed weighing range before paying for connectivity.
A weighing routine that prevents avoidable mistakes
- Set up on a firm, level surface. Make sure the scale and bowl are stable and not touching another object.
- Select grams and check zero. Put the empty bowl on the platform, press tare, and wait for the reading to settle.
- Add one ingredient at a time. Slow down near the target. Do not keep pouring while waiting for the display to catch up.
- Record what matters before taring again. A quick tick on the recipe helps prevent adding an ingredient twice.
- Use a separate small dish for easy-to-overshoot amounts. It is easier to correct a mistake before that ingredient is mixed into the main bowl.
- Follow the recipe’s mixing order. Tare makes consecutive weighing convenient; it does not mean every recipe should be mixed in one bowl.
If a reading drifts or fails to return as expected, check the surface, battery, and manual before trusting the next batch. Reweighing the same object can reveal inconsistent readings, but it does not establish absolute accuracy. Use the manufacturer’s calibration or checking procedure rather than improvising one.
Quick answers before you buy
Can I use a coffee scale for low-carb baking?
Yes, if its capacity, minimum load, platform, and display suit the recipe and bowl. The label “coffee scale” is less important than those specifications.
Will a scale tell me the carbs in my bread?
A basic scale measures weight, not carbohydrate content. Keep weighing decisions separate from nutrition calculations; the ingredient information and recipe quantities still have to be correct.
Should I use the milliliter setting?
When a recipe gives grams, use grams. Do not assume a scale’s volume mode has the correct conversion for every liquid; check the manual and use the measure the recipe specifies.
Our buying verdict
Buy for the bowl first, then the smallest quantity. A simple 1 g scale with enough capacity and a visible display is our starting point for everyday low-carb baking. Add finer measurement only when your recipes call for it. The best upgrade is a tool that removes a real frustration—not a longer list of modes.
Manufacturer specifications checked October 23, 2026. This guide evaluates published features and baking guidance, not firsthand product testing.
More kitchen and baking equipment guides
Plan Your Week with Our Free Meal Planner
Choose seven days of meals, adjust portions, and download your shopping list. No email signup needed.
Open the Free Planner →
