The best loaf pan for low-carb bread is the size and material your recipe was developed for. If you are buying your first pan and the recipe leaves the material open, our practical starting point is a sturdy, light-colored metal pan in the specified size. Buy the recipe match before you buy the fancy finish.
A pan cannot make every loaf rise higher, and “low-carb” does not describe one kind of dough. A pourable batter and a shaped yeast dough may need different handling. This guide focuses on the equipment: how to read dimensions, choose a material, and avoid a pan swap that changes the loaf you meant to bake.
Start with the recipe, not the word “standard”
Before shopping, write down the recipe’s pan length, width, depth, material, and whether it uses a lid. If the author names a particular pan, check its specifications. A listing that says only “standard loaf pan” is not enough to establish a match.
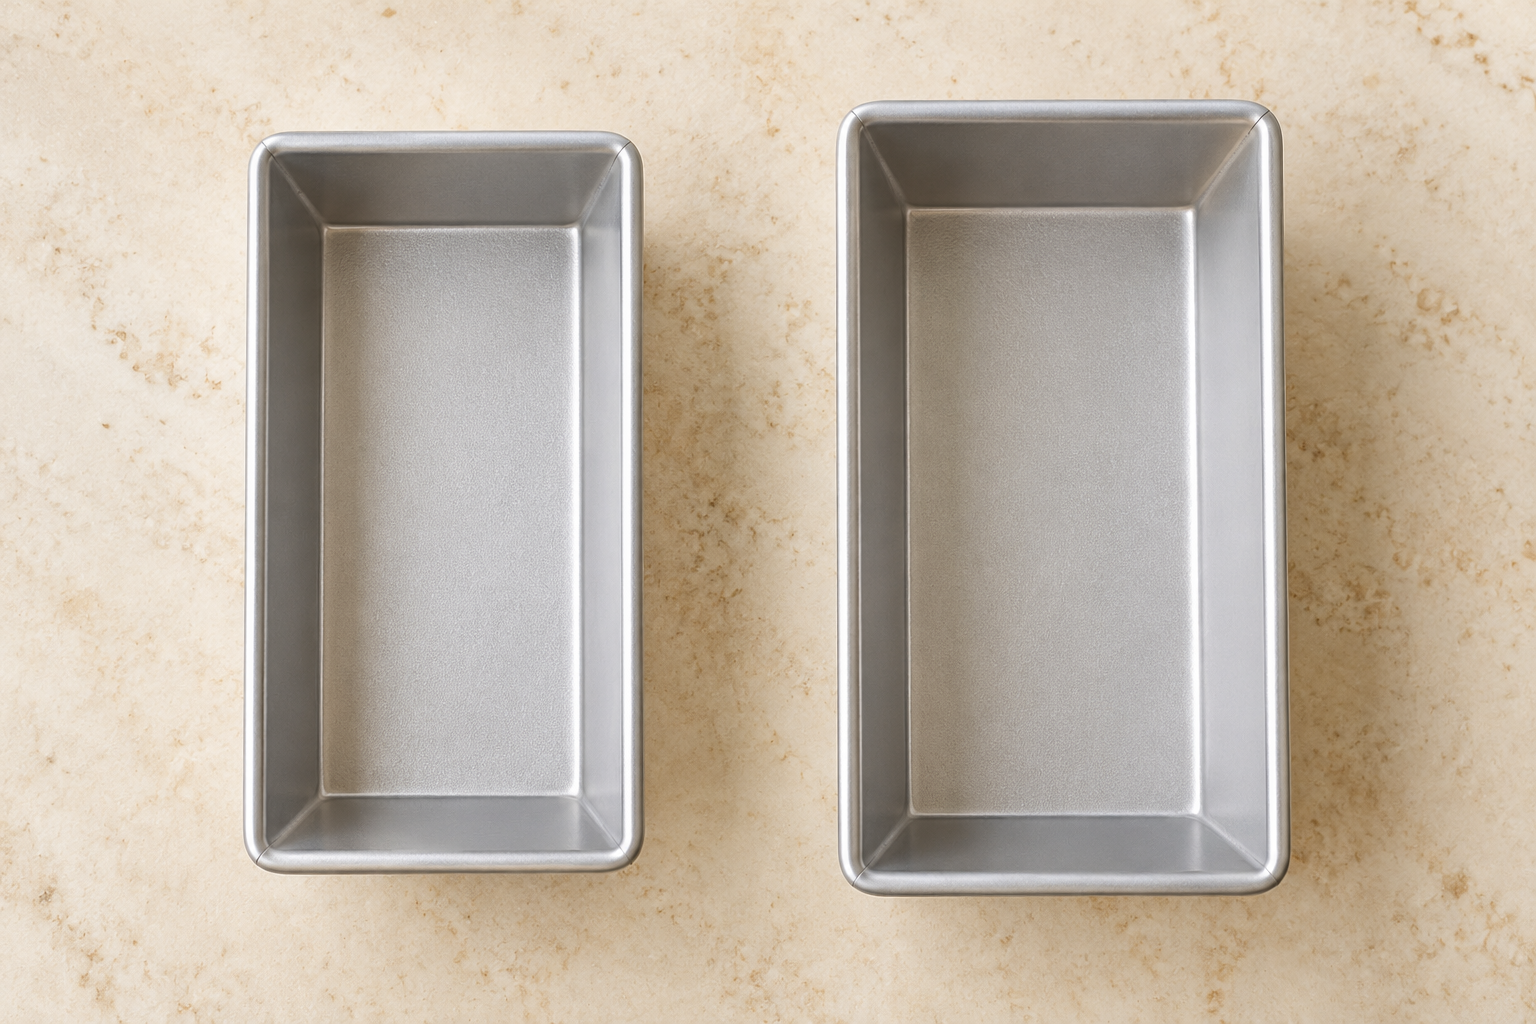
Two common sizes are 8½ × 4½ inches and 9 × 5 inches. They look close on a shelf, but they are not automatic substitutes. A larger pan can spread the same batch into a shorter loaf; a smaller pan may not leave enough room. King Arthur’s baking-pan guide explains why choosing between those sizes matters.
- 8½ × 4½ inches: approximately 21.6 × 11.4 cm. Choose it when the recipe specifies it.
- 9 × 5 inches: approximately 22.9 × 12.7 cm. Do not assume that the extra half-inch is irrelevant.
- A deeper or narrower pan: check all three dimensions. Matching length alone does not match the shape of the loaf.
Those metric numbers are conversions, not a promise that a pan sold as “22 cm” has the same interior. Check the actual measurements. If your favorite recipe already works well in your current pan, there is no reason to replace it simply because another size is popular.
Read the inside dimensions and the outside dimensions
The interior determines the space available for the dough. The exterior determines whether the pan fits your oven, storage space, or countertop oven. Handles and rolled rims count for fit, but they do not give the bread more room.
For example, USA Pan’s Small Bread Loaf Pan lists a baking surface of 8.5 × 4.5 × 2.75 inches and outside dimensions of 9.125 × 5.0625 × 2.75 inches. That is a useful example of a clear specification.
For a pan already in your cupboard, measure the length and width inside the upper opening, then the interior depth. Note whether the walls taper toward the base. If a manufacturer uses a different measuring convention, compare like with like rather than mixing its outside measurement with your inside measurement.
Capacity can help compare unfamiliar shapes, but ask what the figure means: water to the brim, usable baking capacity, or a recipe-size description. A brimful volume is not a recommended batter fill. Likewise, do not use a “1-pound” or “2-pound” label as your only recipe-matching rule. Look for the dimensions and the recipe’s intended batch.
Which material should you choose?
| Material | Best reason to consider it |
|---|---|
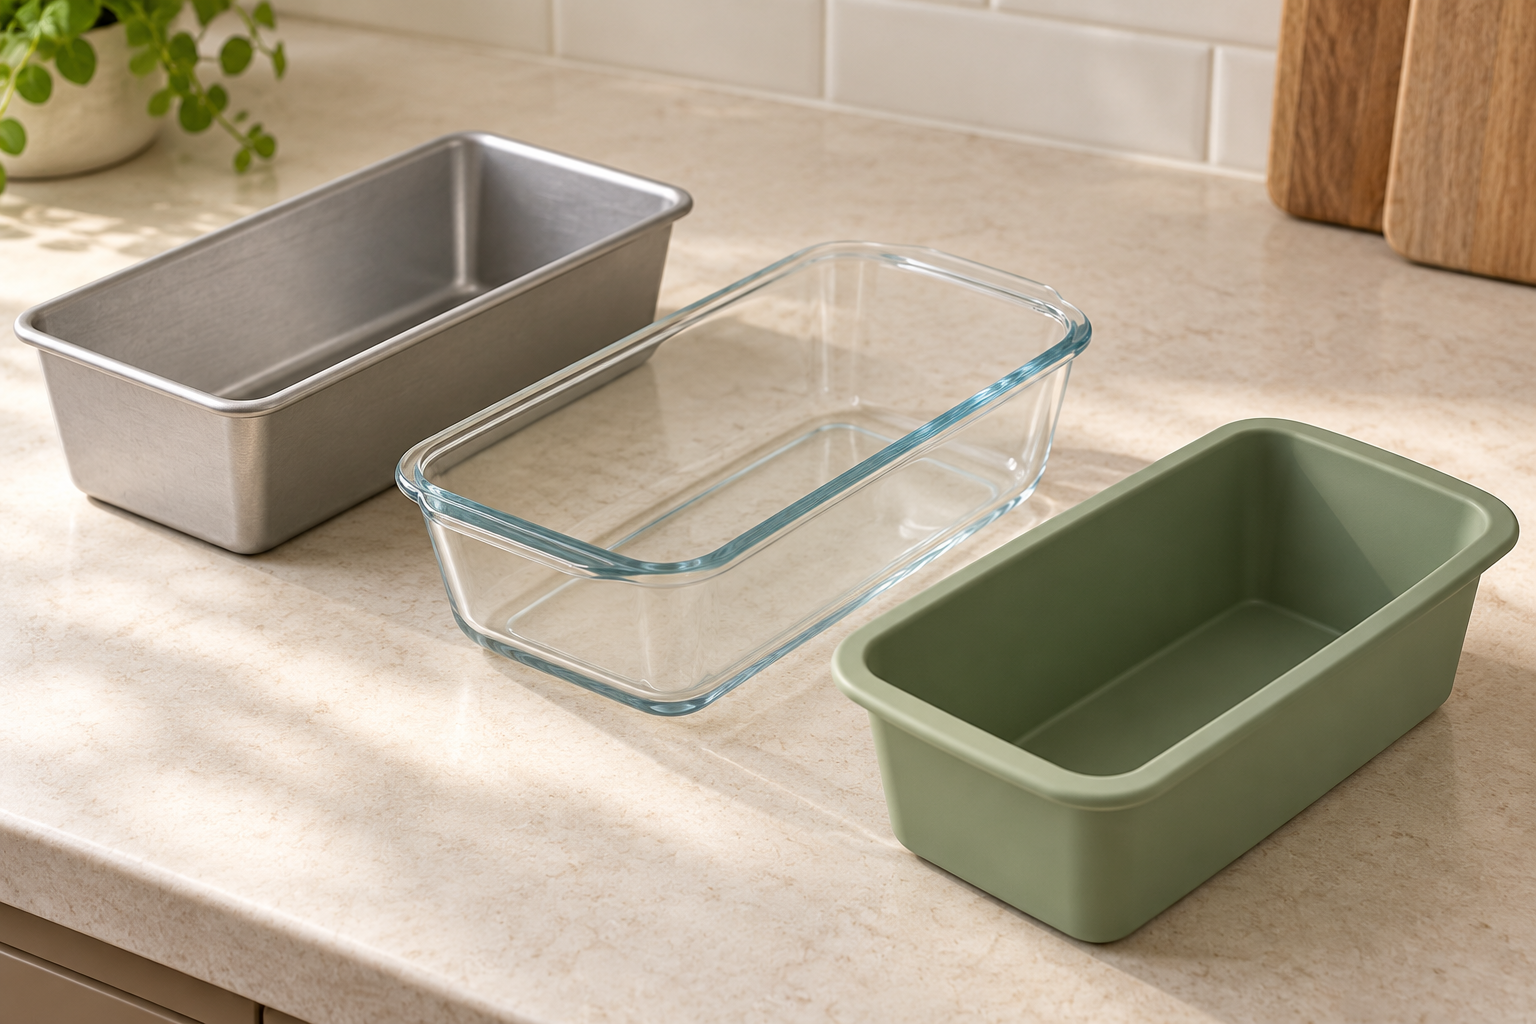
| Light-colored metal | Our first-buying starting point when the recipe leaves material open. Match the specified size. |
| Glass | Use when the recipe is developed for glass, or gives an adjustment. Follow the exact product’s safety guidance. |
| Silicone | Consider when the recipe gives a clear method. Check support, temperature limits, and the crust you want. |
Light-colored metal: our default when the recipe gives you a choice
We would start here for a first purchase. It keeps the decision straightforward: find the right dimensions, a manageable weight, and a surface you are comfortable maintaining. Bare aluminum and coated metal are different options; “metal” does not automatically mean nonstick.
King Arthur favors light-colored, heat-conducting metal for general baking. Its comparison of metal, glass, and stoneware also explains that glass warms more slowly and retains heat longer. Material changes therefore deserve attention even when the size stays the same.
If you already have a dark metal pan, keep the recipe’s guidance on temperature and browning in view rather than buying a replacement immediately. Pan color is one variable, not a verdict on the bread.
Glass: useful, but not a silent swap
A glass loaf pan can be a sensible choice when your recipe uses one. If the recipe specifies metal, look for the author’s glass-pan adjustment before changing materials. Do not add a fixed amount of baking time simply because the new pan is glass; use the recipe’s doneness checks.
Read the safety instructions for the exact product. For its glass bakeware, Pyrex requires a fully preheated oven, prohibits stovetop, broiler, and countertop-appliance use, and warns against sudden temperature changes. Do not place hot glass on a wet or cool surface, and do not use chipped or cracked glassware. Other products may have different restrictions.
Silicone: consider support and the crust you want
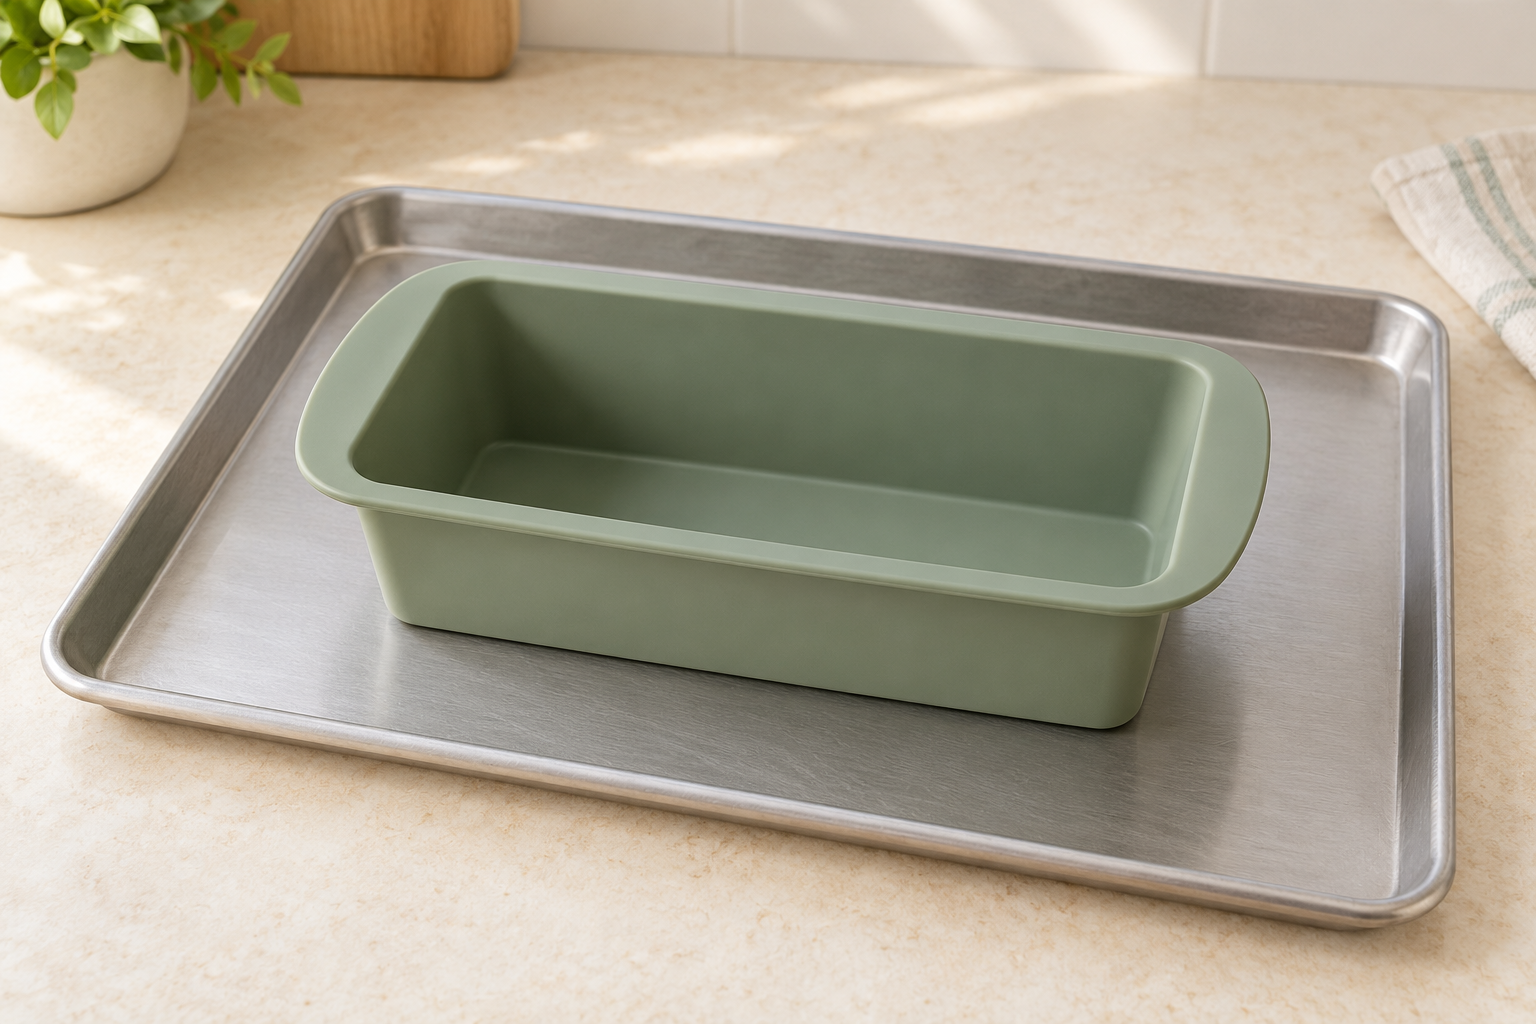
Silicone is flexible, which can make releasing a loaf convenient. That flexibility also needs consideration when you carry a filled mold. Wilton recommends supporting its silicone bakeware on a metal cookie sheet and notes that silicone tends to produce less browning at the edges.
Our preference is to choose silicone when the recipe or product instructions give you a clear method, not as an automatic upgrade from metal. Check the mold’s oven limit and required support. A silicone-coated metal pan is still a rigid metal pan; it is not the same thing as a flexible silicone mold.
Four details worth checking before checkout
- A secure grip. Can you comfortably hold the rim or handles with oven mitts? An attractive pan is no bargain if it is awkward to lift.
- Care you will actually follow. Confirm hand-washing requirements, permitted utensils, coating care, and oven-temperature limits in the manufacturer’s instructions.
- A clear release plan. Check whether the recipe calls for greasing, lining, or both, and whether that preparation is compatible with the pan. “Nonstick” is not a reason to skip the recipe.
- The correct lid situation. Buy a covered Pullman-style pan when you want to follow a recipe developed for that shape and method. A lid is not a universal fix for a low loaf.
For a first purchase, we would rather buy one well-matched pan than a set of several sizes with vague specifications. Add another size when a recipe you genuinely want to make needs it.
If you need to use a different pan
First look for an alternative approved by the recipe author. If none is given, treat the change as a small baking experiment, not a guaranteed conversion. Keep the ingredients and mixing method unchanged so you can judge the pan change separately.
Follow the recipe’s fill or shaping instructions, and do not force the whole batch into a smaller pan. Use its center-doneness test, including an internal temperature if one is provided. There is no single temperature or baking time in this guide that applies to every low-carb loaf.
Make a short note after baking: pan dimensions and material, oven setting, time, release, and the cooled loaf’s shape. That record is more useful for the next bake than guessing which pan a photograph shows.
Quick answers
Is an 8½ × 4½-inch pan better than a 9 × 5-inch pan?
Neither is universally better. Choose the one specified by your recipe. A smaller pan is not a reliable shortcut to a taller loaf.
Do I need a special pan for keto or low-carb bread?
No special label is necessary. Match the recipe’s dimensions, material, and method rather than the marketing on the box.
Should I buy a pan before choosing a recipe?
Choose two or three recipes you expect to bake regularly first. If they use the same size, your first purchase becomes an easy decision.
Our verdict: buy the pan that fits your actual baking. For a first purchase with no material specified, a sturdy, light-colored metal pan is our practical starting point. The right size and clear instructions matter more than a “keto” label or a collection of specialty shapes.
More kitchen and baking equipment guides
Plan Your Week with Our Free Meal Planner
Choose seven days of meals, adjust portions, and download your shopping list. No email signup needed.
Open the Free Planner →
