

For most home cooks, buy an instant-read food thermometer first. Add an oven thermometer if you bake regularly or suspect your oven runs hot or cool. They answer different questions: one checks the food, while the other checks the air around it. A leave-in probe is a useful third option when you want to watch a longer cook without repeatedly opening the door.
For low-carb bread, our preferred everyday setup is a simple oven-air thermometer plus a thin instant-read probe. That combination helps you separate an oven problem from a loaf that needs more baking, without paying for features you may never use.
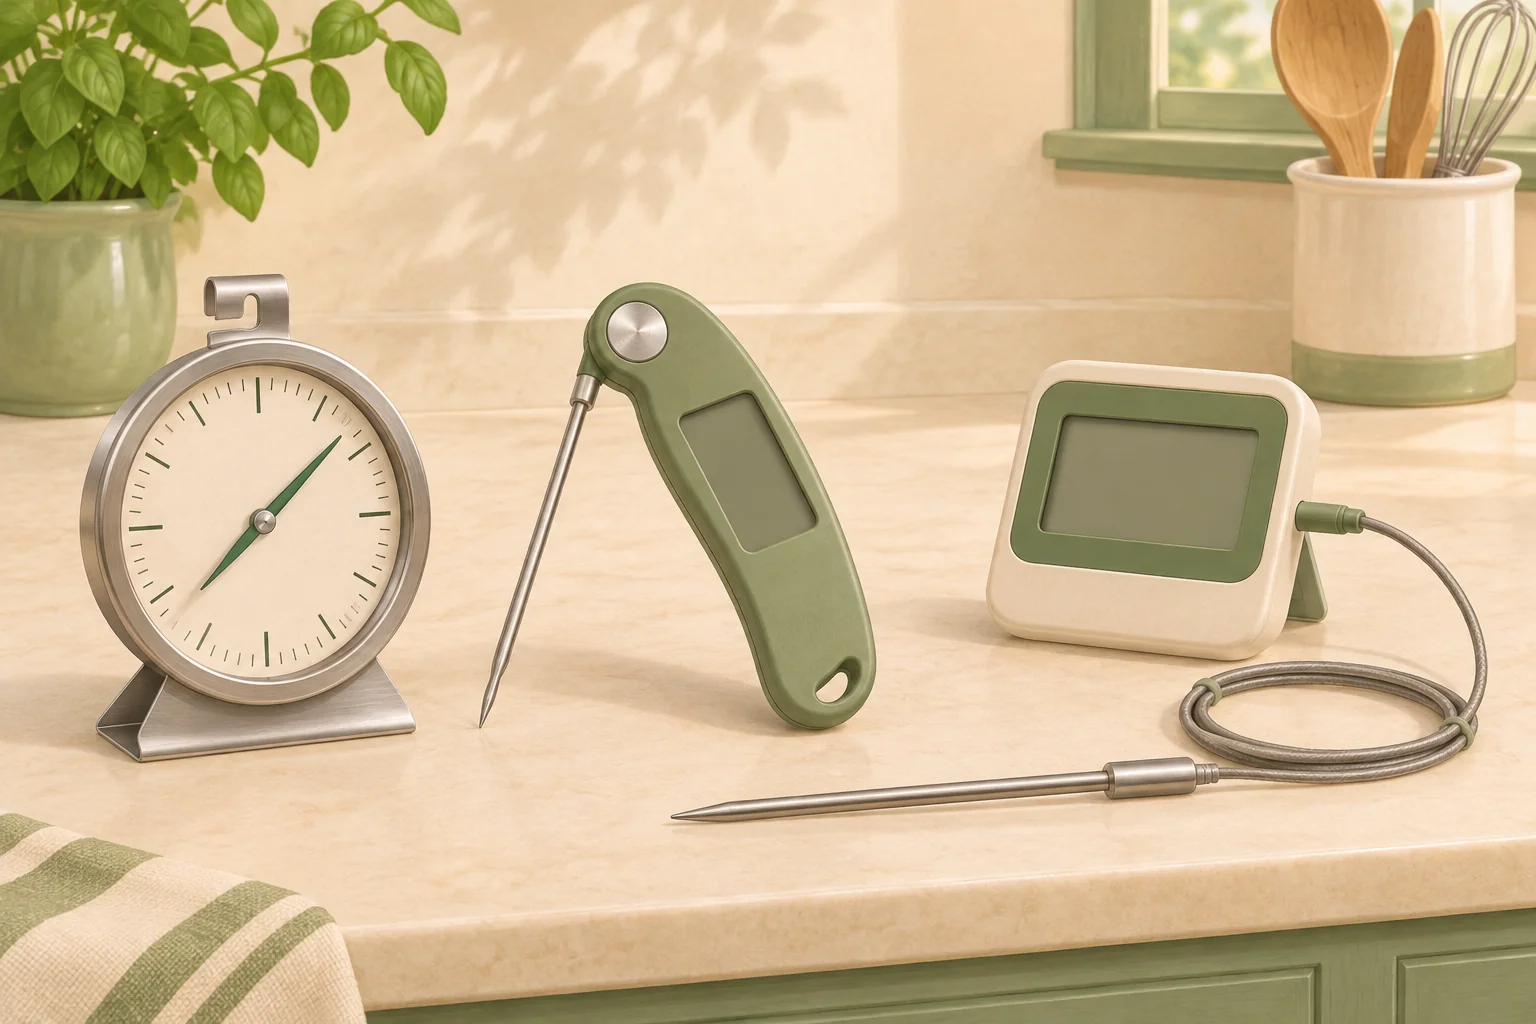
Oven thermometer vs. instant-read probe: the quick choice
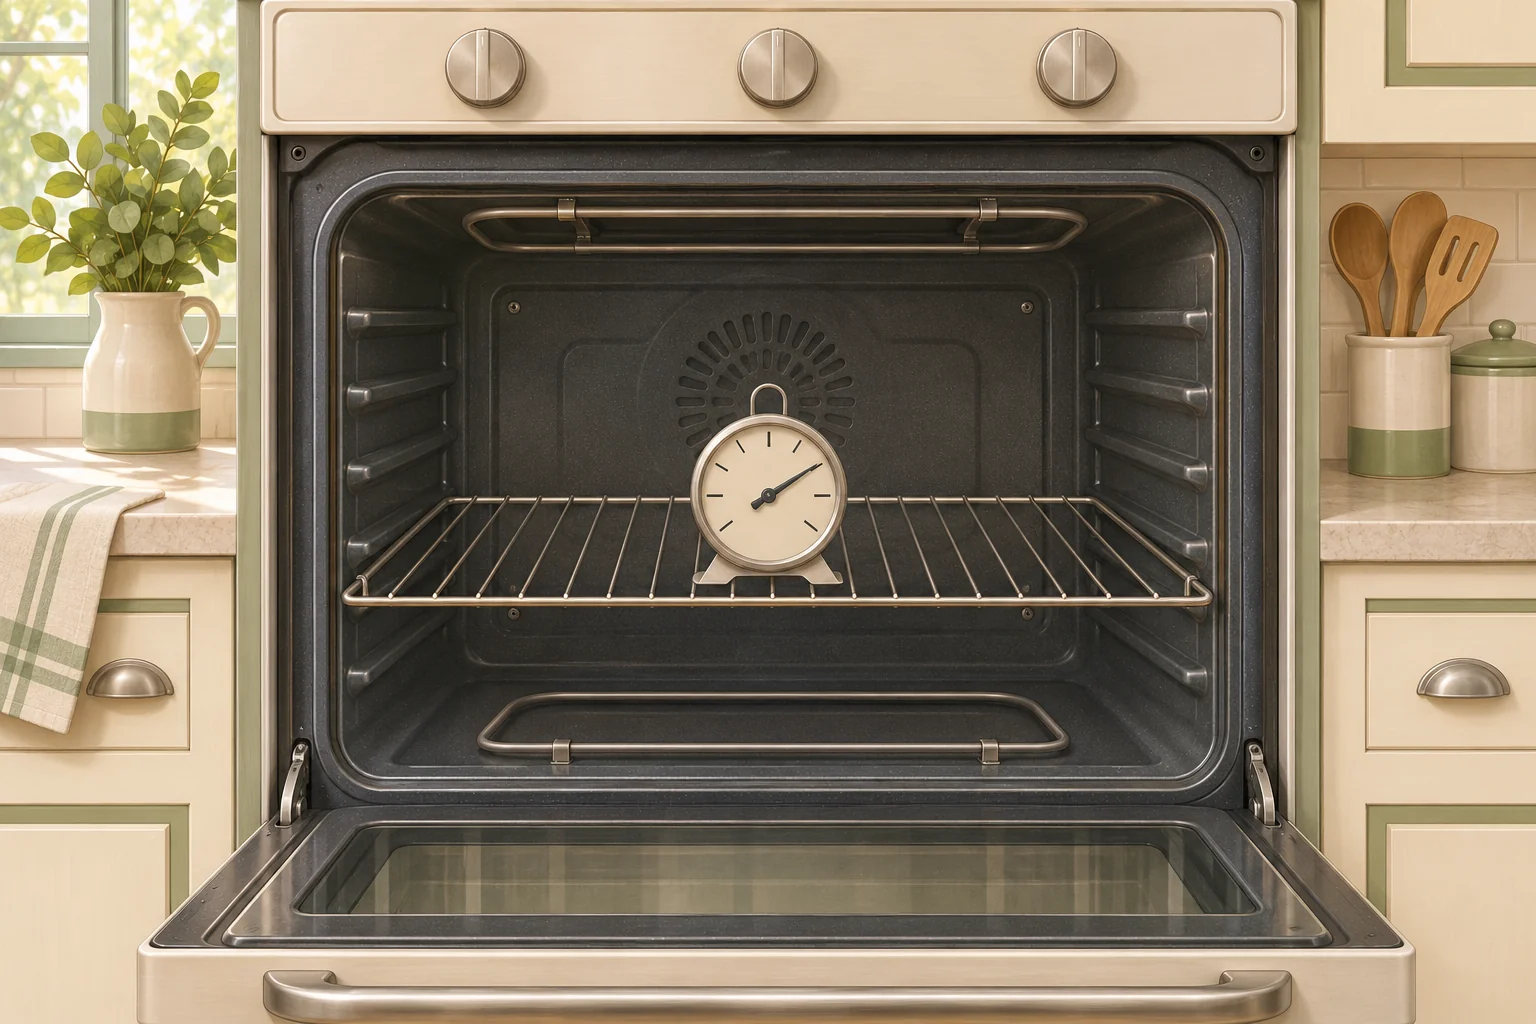
Oven-air thermometer
Choose it for: checking the temperature around a bread pan.
A hanging or standing dial stays in the oven. A compatible digital air probe can do the same job with its display outside.
Limitation: it cannot tell you the temperature inside your loaf or chicken.
Instant-read food thermometer
Choose it for: checking the center of food near the end of cooking.
Insert the probe, wait for a stable reading, then remove it. A thin tip is useful for small rolls and thinner foods.
Limitation: a handheld instant-read unit is not a leave-in oven thermometer.
Leave-in food probe
Choose it for: following one spot in a roast or other suitable food throughout cooking.
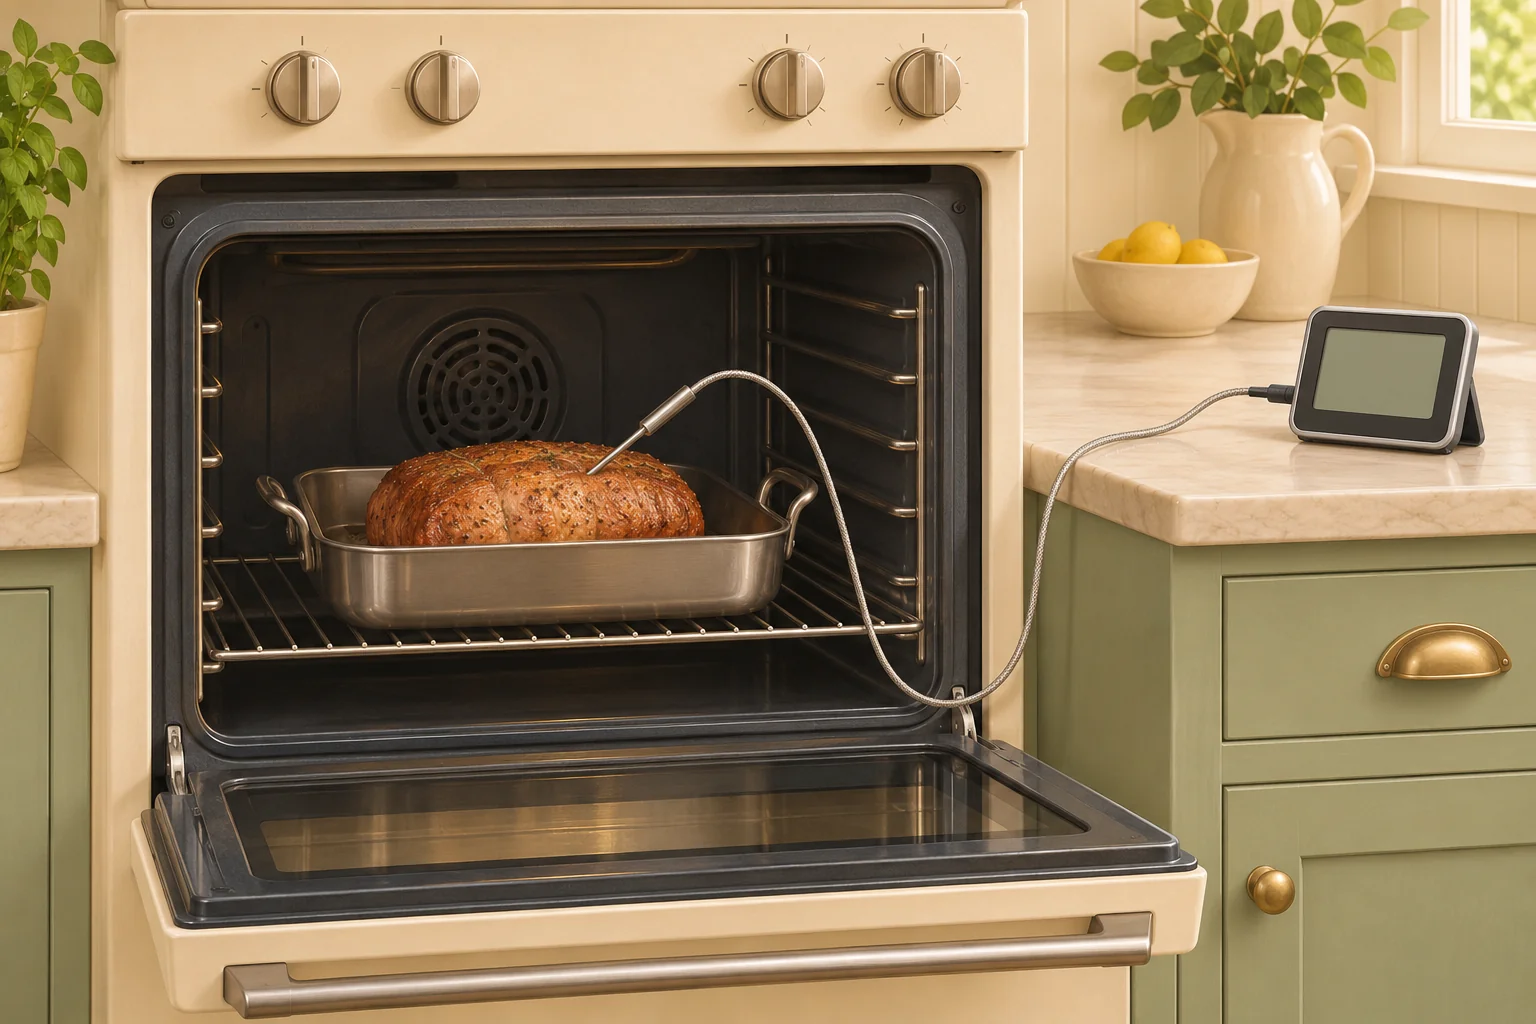
An oven-rated probe remains inside; with a wired model, the display stays outside. Some systems support a separate air probe.
Limitation: an alarm describes the probe’s location, not every part of the food. Check other spots before serving.
Always check the exact model’s instructions. The University of Connecticut’s thermometer guide explains why food thermometers differ in placement and oven suitability.
Which one should you buy first?
If you cook chicken, burgers, egg dishes, and bread, the instant-read is our first purchase. You can move it between foods and take more than one reading. Choose an oven thermometer first only when your immediate job is diagnosing baking temperatures and you already have a reliable way to check food.
For an occasional batch of rolls, start small. A readable display, comfortable grip, and clear instructions matter more than an app. If you routinely roast larger foods, a leave-in alarm becomes more useful: it tells you when to come back and check, rather than asking you to watch the clock.
We would skip a connected multi-probe system for someone who mainly makes one loaf at a time. Spend on that extra capacity when you have a real need to monitor several foods or both the food and oven air.
Why low-carb bread benefits from two measurements
Imagine a loaf with a dark top and a soft middle. An oven-air reading helps investigate the baking environment. An internal reading tells you what is happening at the probe’s location. Neither number alone identifies the cause: the recipe, pan, rack position, and cooling instructions still matter.
Do not apply one universal bread temperature to every almond-flour, coconut-flour, psyllium, or egg-rich recipe. Use the target and doneness cues provided by the specific recipe. If it gives no temperature, avoid borrowing one from an unrelated wheat loaf and treating it as proof of success.
Even conventional bread can reach a stated internal temperature before baking is complete, as King Arthur Baking explains. For a low-carb loaf, our advice is to combine any recipe-specific temperature target with its baking time, appearance, texture cues, and cooling directions.
How to check oven temperature without chasing every swing
Ovens cycle their heat on and off. A single high or low reading is not enough reason to change the controls. Use the thermometer and oven manuals to set up a repeatable check, then look for a persistent pattern.
- Choose the rack position and baking mode you actually use. Put an oven-rated air sensor near the cooking area, following its placement instructions.
- Keep the sensing area clear of the pan and oven walls. With an air probe, use the correct clip rather than resting the sensing tip on metal.
- Preheat and allow the readings to settle through heating cycles. Keep the door closed as much as possible.
- Record the set temperature and repeated readings or a supported average. Repeat before making a correction.
- If a consistent difference remains, follow your oven manufacturer’s calibration or service instructions. Do not adjust a gas valve or dismantle the appliance.
As a design example, Square DOT has an air-probe averaging mode. Its manufacturer instructions describe a 15-minute rolling average and recommend leaving the oven undisturbed for at least 20 minutes after averaging begins. That is a model-specific procedure, not a rule for every thermometer.
If you use a bread machine, also check our guide to bread-machine compatibility with low-carb recipes. Temperature checks cannot make an unsuitable program or recipe compatible.
What to look for on the specification sheet
- A stated purpose: oven air, food spot checks, or continuous food monitoring. “Digital” does not tell you which job it does.
- Useful accuracy information: look for the stated tolerance and the temperature range where it applies. A decimal on the screen is display resolution, not proof of accuracy.
- A suitable sensing area: check the required insertion depth. A long sensing section can be awkward in a small roll.
- Readable controls: consider screen angle, backlighting, and Fahrenheit/Celsius selection.
- Practical care: check cleaning instructions, battery replacement, and whether replacement probes are available.
These are specification examples, not a tested product ranking. Taylor’s 5932 has a 3-inch dial, hangs or stands, and lists a 100–600°F (50–300°C) scale. Its product page also says not to immerse it in water. For handheld probes, the Thermapen ONE manual illustrates why sensor location matters: its sensor is at the tip, and its plastic body must not be left in the oven.
Using a probe safely
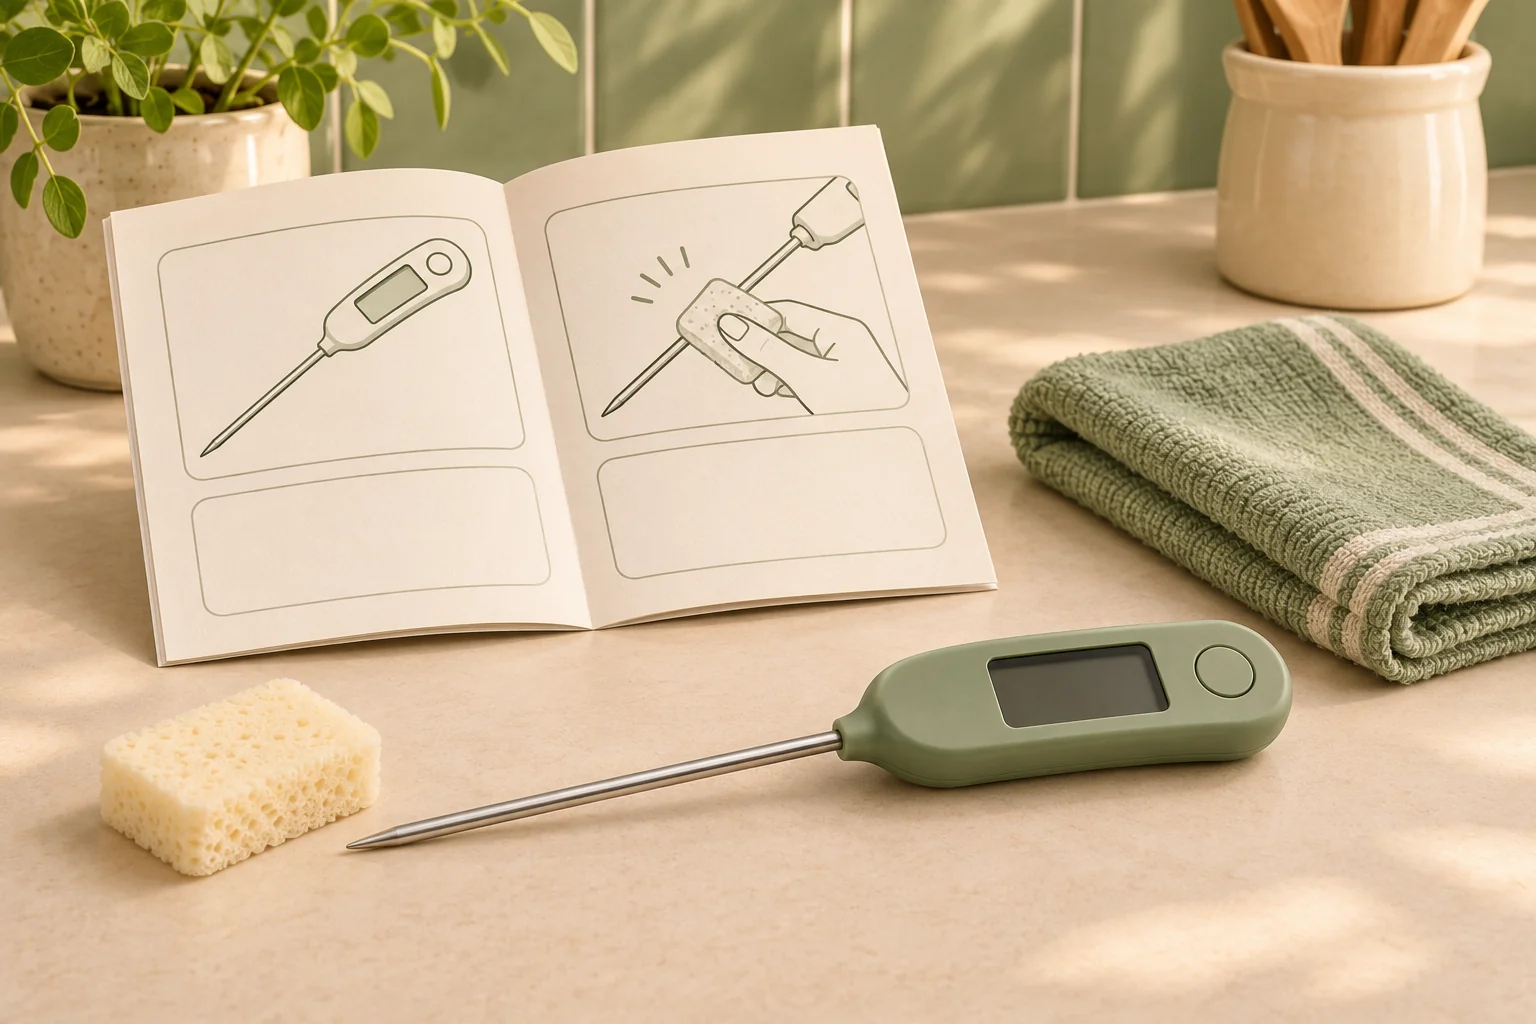
For bread, aim for the center without touching the pan. For meat, follow the thermometer’s insertion instructions and check the thickest appropriate area away from bone. Wait for the reading to settle. Clean the probe between raw-food checks and final cooked-food checks according to the manufacturer’s directions.
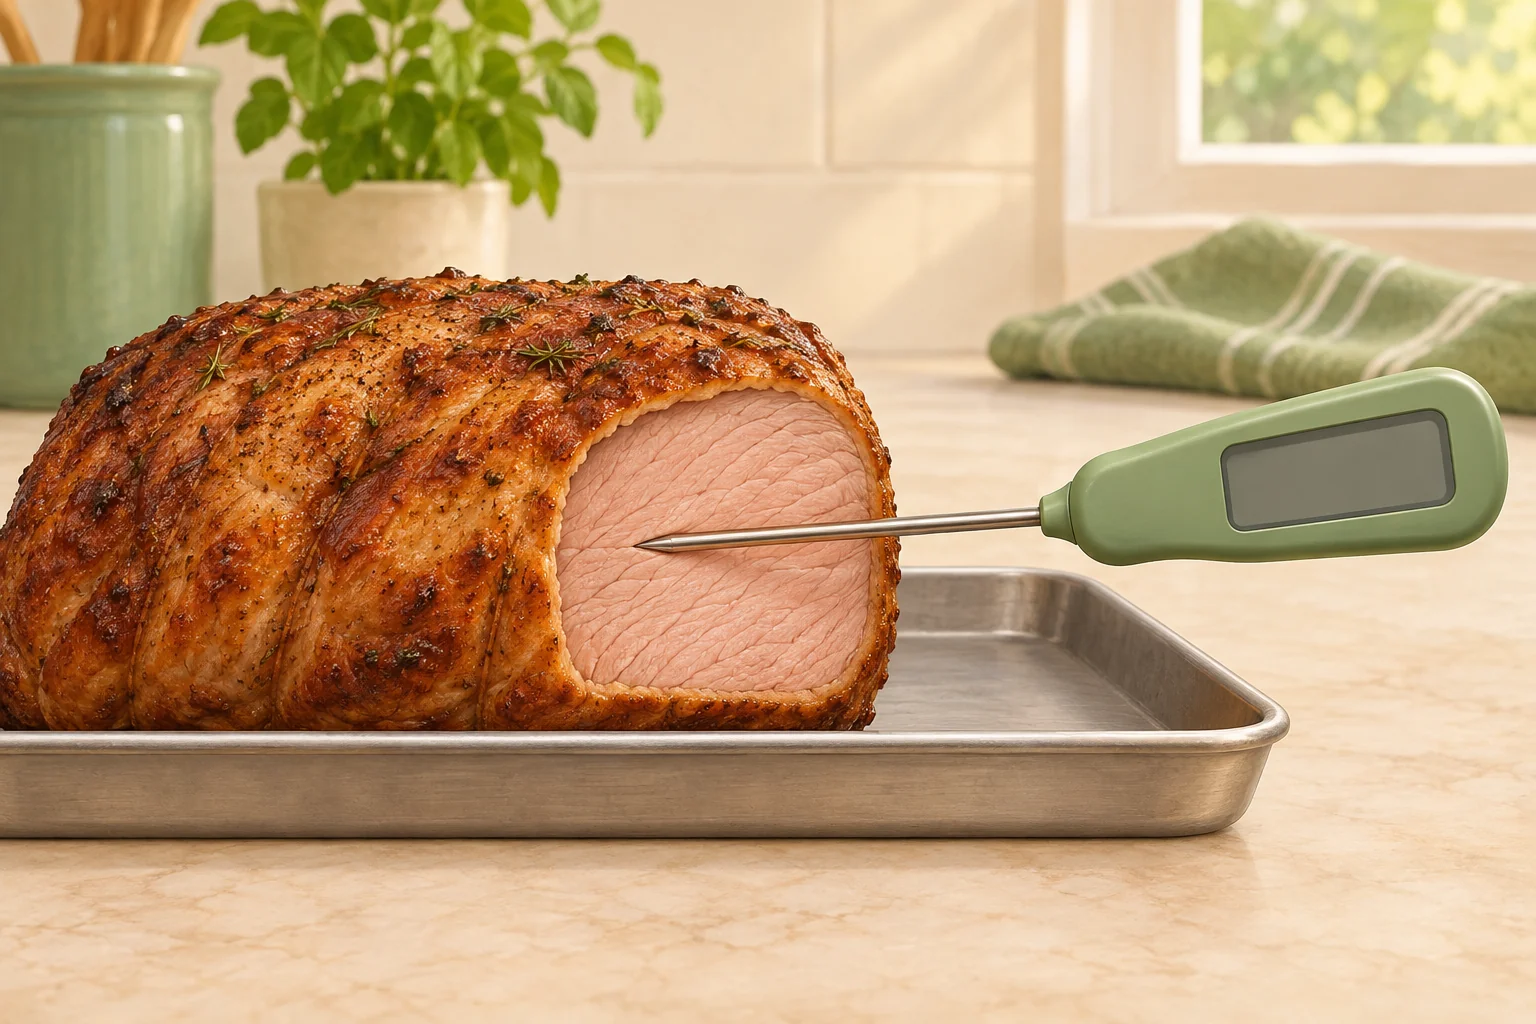
For everyday food safety, the U.S. safe minimum internal-temperature chart lists poultry and leftovers at 165°F (74°C), ground beef at 160°F (71°C), and whole cuts of beef or pork at 145°F (63°C) followed by a three-minute rest. These are food-specific safety temperatures, not low-carb bread texture targets.
For leave-in equipment, check the limits for the probe, cable, and display separately. Keep cables away from heating elements and follow the routing instructions. An oven-safe probe does not make its display oven-safe. Do not assume that an oven-rated tool is suitable for broiling or a self-cleaning cycle.
How can you check whether the thermometer reads correctly?
A properly prepared ice bath is a useful check for a compatible food probe. Follow the maker’s method and compare the stabilized reading with 32°F (0°C), allowing the stated tolerance. ThermoWorks’ accuracy guidance gives model-specific tolerances rather than expecting every thermometer to display exactly the same number.
Keep the sensor away from the container’s sides and bottom, and respect the insertion depth. Do not immerse a dial oven thermometer that prohibits immersion. A check is not automatically a calibration, and agreement at freezing does not independently verify every temperature on the scale. If the reading is outside specification, use the manufacturer’s adjustment, service, or replacement advice.
Our recommendation for your next bake
Start with the question you need answered. “Is the food ready?” calls for a food probe. “Is the oven heating as expected?” calls for an oven-air thermometer. For regular low-carb baking, keep both; add a leave-in alarm when longer cooking makes it worthwhile.
On your next loaf, write down the recipe, pan, rack position, oven setting, and final results after cooling. Those notes make a thermometer more useful than another gadget bought without a specific job.
Find more practical tools in our Kitchen and Baking guides.
Editorial method: This category guide uses manufacturer instructions and food-safety and baking references reviewed November 10, 2026. Recommendations are editorial judgments about tool types, not firsthand test results. Illustrations are AI-generated educational scenes, not photographs of named models.
Plan Your Week with Our Free Meal Planner
Choose seven days of meals, adjust portions, and download your shopping list. No email signup needed.
Open the Free Planner →
