

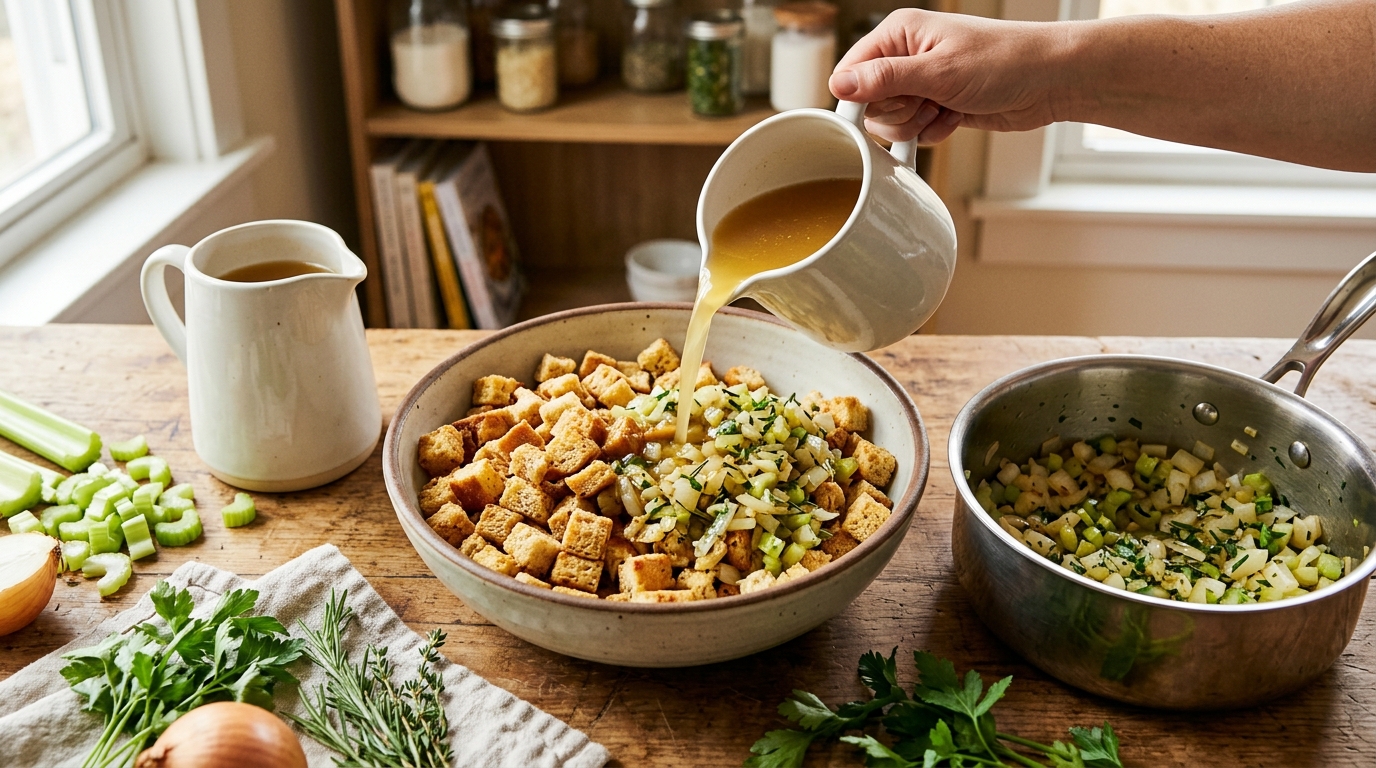
Low-carb bread stuffing cups turn a familiar holiday side into tidy, crisp-edged individual portions. The method is simple: dry cubed low-carb bread, soften onion and celery in butter, add herbs and broth, then bake the mixture in a muffin pan. Because every portion touches the hot metal, you get more browned edges than you would from a deep casserole.
This recipe is designed as a flexible template rather than a promise of a specific carb count. Low-carb breads vary widely in slice size, fiber, starches, and labeled net carbs, so use the nutrition panel on your chosen loaf if you need to calculate a serving precisely.
Why stuffing cups work well with low-carb bread
Many packaged low-carb breads contain extra fiber, protein, or modified starches. Those ingredients can make the bread behave differently from traditional sandwich bread: some loaves absorb broth quickly, while others stay springy longer. Drying the cubes first and adding broth gradually gives you control over the texture.
- More crisp surface: A muffin pan exposes the sides and top of each portion to direct heat.
- Built-in portions: Guests can take one cup without scooping from a casserole.
- Easier reheating: Individual pieces warm more evenly than a thick pan of stuffing.
- Flexible seasoning: You can keep the base classic or add mushrooms, sausage, or a small amount of tart fruit.
Ingredients
This makes about 10 to 12 stuffing cups, depending on the size of your muffin wells and how firmly you fill them.
- 8 to 10 slices low-carb sandwich bread, cut into roughly 3/4-inch cubes
- 4 tablespoons unsalted butter, plus more for greasing the pan
- 1 small yellow onion, finely diced
- 2 celery ribs, finely diced
- 2 garlic cloves, minced
- 1 teaspoon dried rubbed sage
- 1 teaspoon dried thyme
- 1/2 teaspoon dried rosemary, crushed between your fingers
- 1/2 teaspoon kosher salt, plus more only if needed
- 1/4 teaspoon black pepper
- 1 large egg, lightly beaten
- 1 to 1 1/2 cups reduced-sodium chicken or vegetable broth, added gradually
- 2 tablespoons chopped fresh parsley
Ingredient note: Broth and packaged bread can both contribute substantial sodium. Taste the cooked vegetable mixture and check both labels before adding extra salt. If your loaf is highly seasoned or salty, start with less.
Two low-carb breads to consider
As an Amazon Associate, LessCarby earns from qualifying purchases. Product formulas and availability can change, so verify the current package and nutrition label before buying.
Nature’s Own Life Keto Bread
This soft sandwich-style loaf is a practical starting point for stuffing cups. Dry the cubes thoroughly, then add broth gradually so the mixture holds together without becoming soggy.
Sola Sweet & Buttery Bread
Sola’s smaller slices can work well when you want compact cubes and a subtly richer flavor. Because slice size and moisture differ, judge the broth amount by texture rather than using the full amount automatically.
How to make low-carb bread stuffing cups
1. Dry the bread cubes
Heat the oven to 300°F. Spread the bread cubes in one layer on a rimmed baking sheet. Bake for 20 to 30 minutes, stirring once, until the surfaces feel dry. The cubes do not need to become deeply browned or rock hard.
Drying is important because fresh bread can collapse as soon as broth is added. If your bread is already firm or slightly stale, begin checking it early. For a more detailed explanation of storing bread before a recipe, see how to freeze low-carb bread without ruining the texture.
2. Cook the vegetables and herbs
Increase the oven temperature to 375°F. Melt the butter in a large skillet over medium heat. Add the onion and celery and cook for 7 to 9 minutes, stirring occasionally, until softened but not browned. Add the garlic, sage, thyme, rosemary, pepper, and the initial 1/2 teaspoon salt. Cook for about 30 seconds, just until fragrant.
3. Moisten gradually
Place the dried bread in a large bowl. Add the warm vegetable mixture and parsley and toss gently. Pour in 1 cup of broth in several additions, tossing after each one. Let the mixture stand for two minutes, then squeeze a spoonful lightly in your hand. It should hold together without releasing liquid.
If the cubes still feel dry and separate, add more broth a few tablespoons at a time. Stop before the mixture becomes soupy. A very high-fiber loaf may need more liquid than a softer low-carb bread, so the texture test matters more than an exact volume.
4. Add the egg and fill the pan
Let the mixture cool briefly so it is warm rather than steaming. Fold in the beaten egg until evenly distributed. Generously grease a standard 12-cup muffin pan. Divide the stuffing among 10 to 12 wells and press each mound just firmly enough to hold together. Leave the tops slightly uneven so the exposed points can brown.
5. Bake until crisp
Bake for 22 to 28 minutes, until the tops and edges are golden and the centers are hot. For food safety, the USDA advises cooking stuffing to 165°F in the center, measured with a food thermometer. Let the cups rest in the pan for 5 to 10 minutes, then loosen the edges with a thin spatula or butter knife.
How to get crisp edges without a dry center
The best stuffing cup has enough moisture to stay tender but not so much that it steams in the pan. These small adjustments make the biggest difference:
- Dry, do not toast hard. Bread that is deeply toasted can require much more broth and may remain chewy.
- Cut evenly. Similar-size cubes absorb liquid at a similar rate.
- Use a metal muffin pan. Metal generally browns the sides more effectively than silicone.
- Grease every well thoroughly. Butter helps browning and makes the cups easier to remove.
- Do not compact them heavily. Firm pressure can turn the centers dense.
- Rest before unmolding. The cups become sturdier as the egg sets and the steam settles.
Useful variations
Mushroom and herb
Cook 4 ounces of finely chopped mushrooms after the onion and celery begin to soften. Continue cooking until their released moisture evaporates before adding the herbs.
Sausage stuffing cups
Brown 6 to 8 ounces of sausage completely, drain excess fat, and fold it into the bread mixture. Choose a sausage with a label that fits your dietary needs, and reduce added salt because sausage can be salty. Any raw meat should be fully cooked before it is mixed into stuffing.
Vegetarian version
Use vegetable broth and add sautéed mushrooms for depth. A spoonful of grated Parmesan can add savory flavor, but check the seasoning before adding salt.
A little sweet-tart contrast
Add a small amount of finely diced apple or unsweetened dried cranberries if they fit your carb target. This is intentionally optional: the amount and the product label will determine the carbohydrate impact.
Make-ahead, storage, and reheating
For advance prep, dry the bread cubes and cook the vegetable mixture separately. Refrigerate the vegetables, then combine the wet and dry ingredients shortly before baking. The USDA advises against refrigerating uncooked, fully mixed stuffing; it recommends keeping the wet and dry parts separate until cooking.
Refrigerate cooked stuffing cups within two hours. Store them in a covered container for up to three or four days, or freeze them for longer storage. Reheat in a 325°F or hotter oven until the center reaches 165°F. An air fryer can restore crisp edges, but check frequently because low-carb bread can darken quickly. See the USDA’s stuffing and food-safety guidance for the full recommendations.
What to serve with stuffing cups
These cups work beside roasted chicken, turkey, pork, or a vegetarian main. They also make a useful base for leftovers: split one, toast the cut sides, and top it with a fried egg or a small spoonful of warmed turkey and gravy. If you like repurposing sliced bread into crisp sides, the technique pairs naturally with our low-carb croutons and low-carb garlic bread.
Frequently asked questions
Can I use frozen low-carb bread?
Yes. Thaw it first, cube it, and dry it in the oven. If condensation makes the bread damp, allow a few extra minutes of drying time.
Why did my stuffing cups fall apart?
The mixture may have been too dry, the egg may not have been distributed evenly, or the cups may have been removed before resting. Add broth gradually until a squeezed handful holds together, and wait at least five minutes before unmolding.
Can I bake this as one casserole?
Yes. Transfer the mixture to a generously buttered baking dish and bake until browned and 165°F in the center. The timing will be longer, and you will have fewer crisp edges than with individual cups.
Do stuffing cups have a fixed net-carb count?
No. The bread is the main variable, and labels differ by brand and variety. Calculate from the specific bread, broth, vegetables, and optional additions you use rather than relying on a universal estimate.
The bottom line
Low-carb bread stuffing cups are a practical way to get crisp edges, tender centers, and neat portions from packaged low-carb bread. Dry the cubes, add broth slowly, avoid overpacking, and use a thermometer to confirm the centers are fully cooked. The method is forgiving once you adjust the moisture to the loaf in front of you.
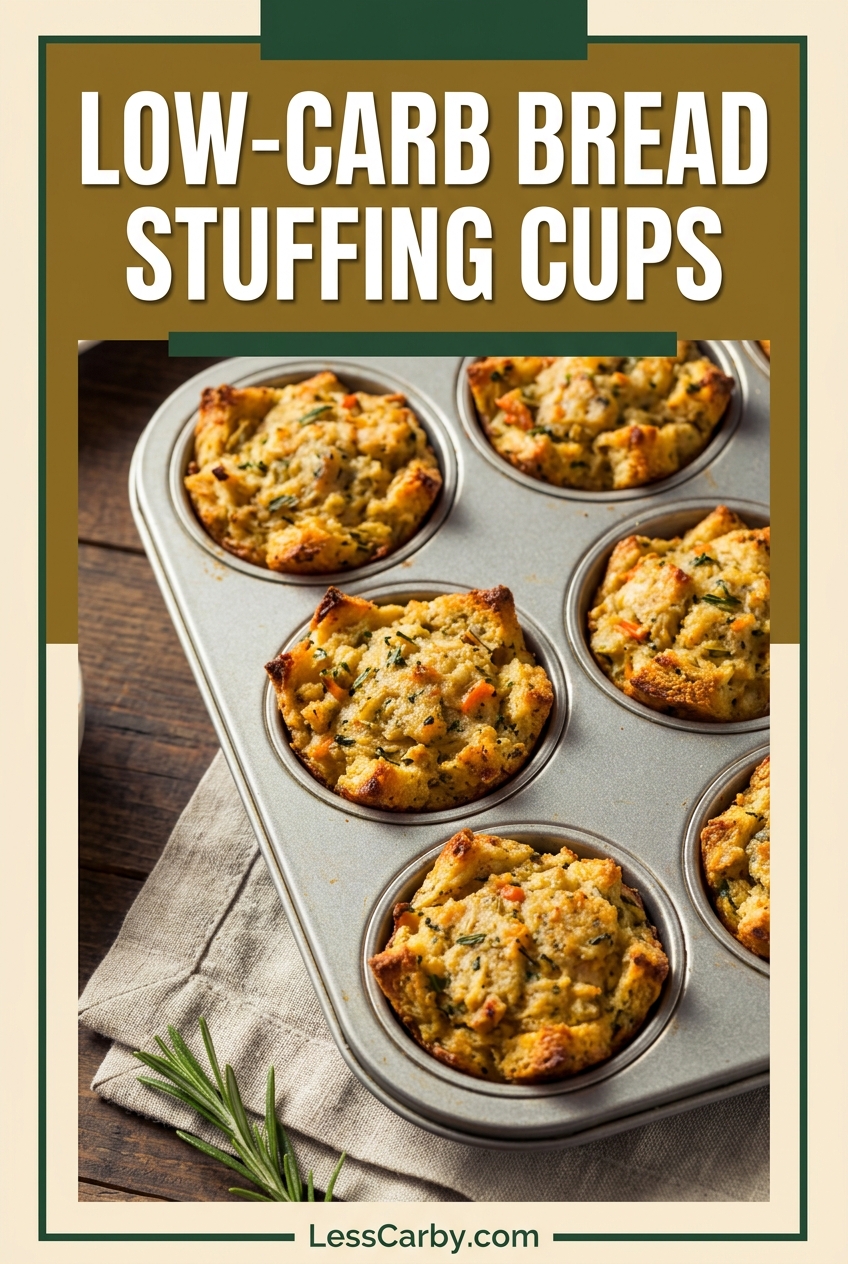
Save This Post on Pinterest

Plan Your Week with Our Free Meal Planner
Choose seven days of meals, adjust portions, and download your shopping list. No email signup needed.
Open the Free Planner →
