

We would start with a sturdy, light-colored rimmed sheet pan that fits your oven, then add a smaller tray only if you regularly cook smaller portions. Measure the outside edges before buying. A useful rim, enough flat cooking space and care instructions you can live with matter more than a matching set or a long list of finishes.
A sheet pan can earn its cupboard space with roasted vegetables, bread chips, open-face sandwiches and small batches of rolls. Low-carb cooking does not call for a special type of metal. Choose the pan around the recipe, the amount of food and the oven you actually use.
This is a buying guide to pan features, not a ranking of branded models. Our preference is to buy one useful size first. If your current tray fits, sits securely and gives you results you like, there may be no reason to replace it.
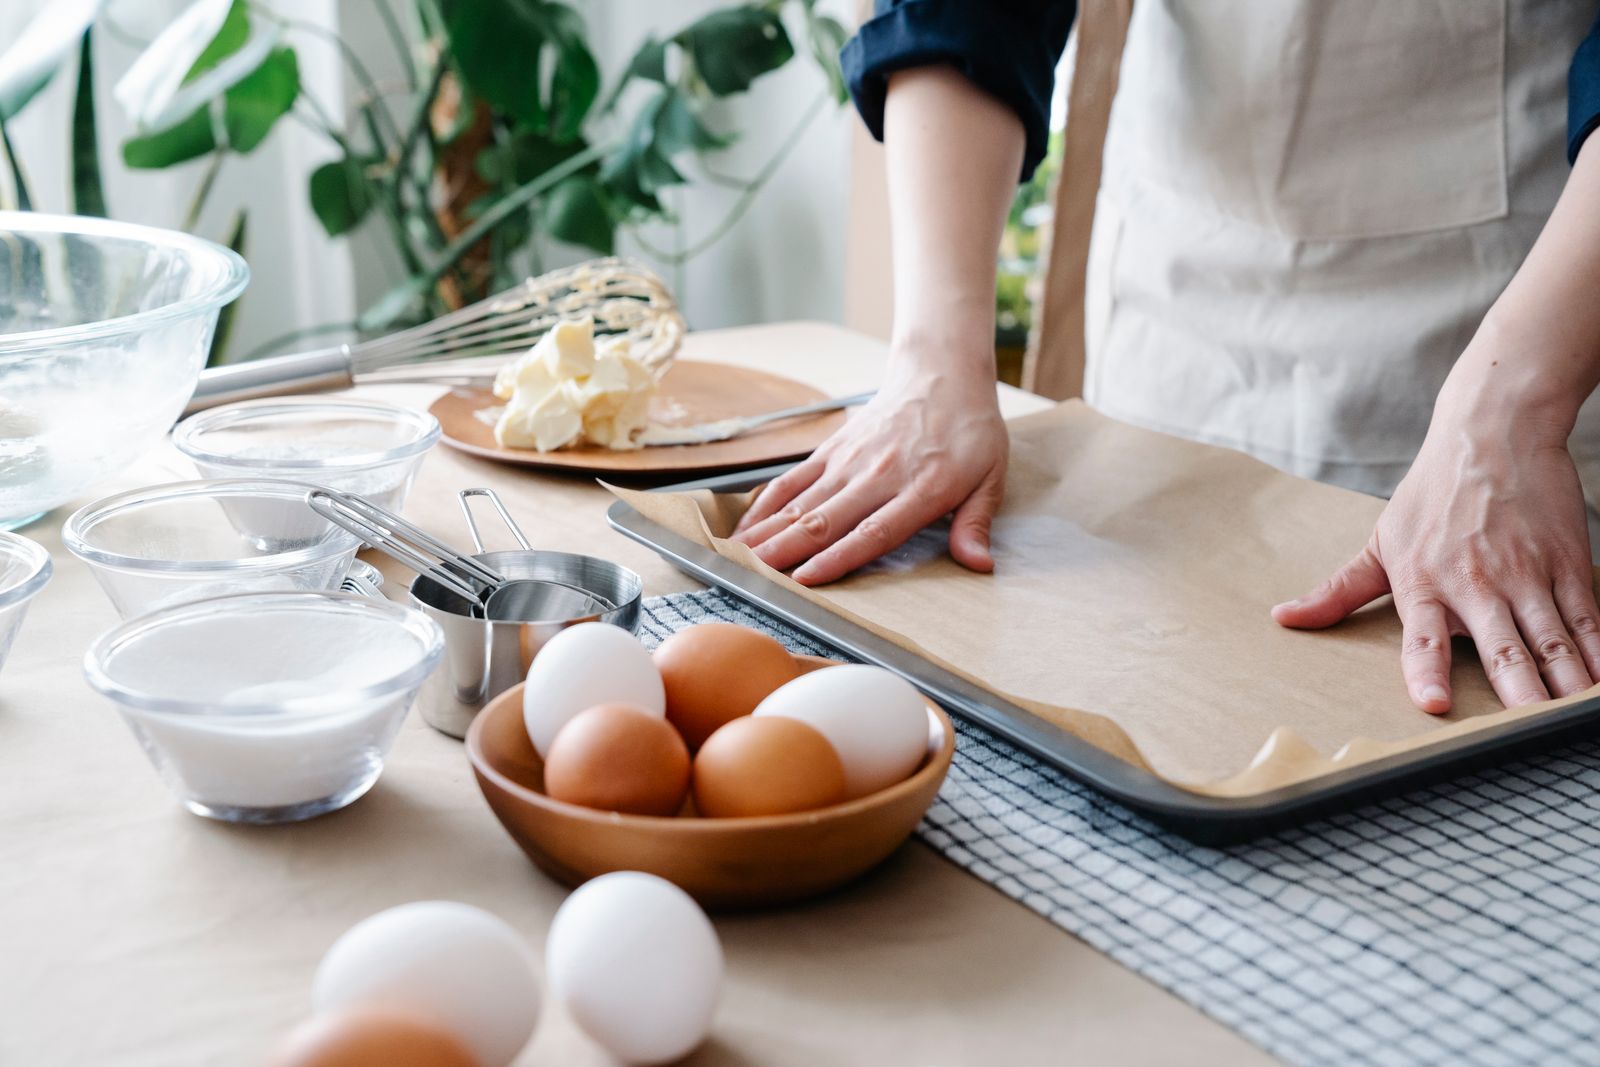
Start with the outside dimensions
The size name is a starting point, not a fit guarantee. In U.S. commercial bakeware, a half sheet is commonly around 18 × 13 inches; a quarter sheet is around 13 × 9½ inches. A full sheet is around 26 × 18 inches. The Vollrath bakeware catalog shows these familiar size families, alongside differences in rims and construction.
Use those numbers to narrow your search, then read the exact pan’s specification. Rounded measurements, handles and rolled edges can change whether it clears the rack supports and door. A baking sheet sold for a countertop oven may use a different size altogether.
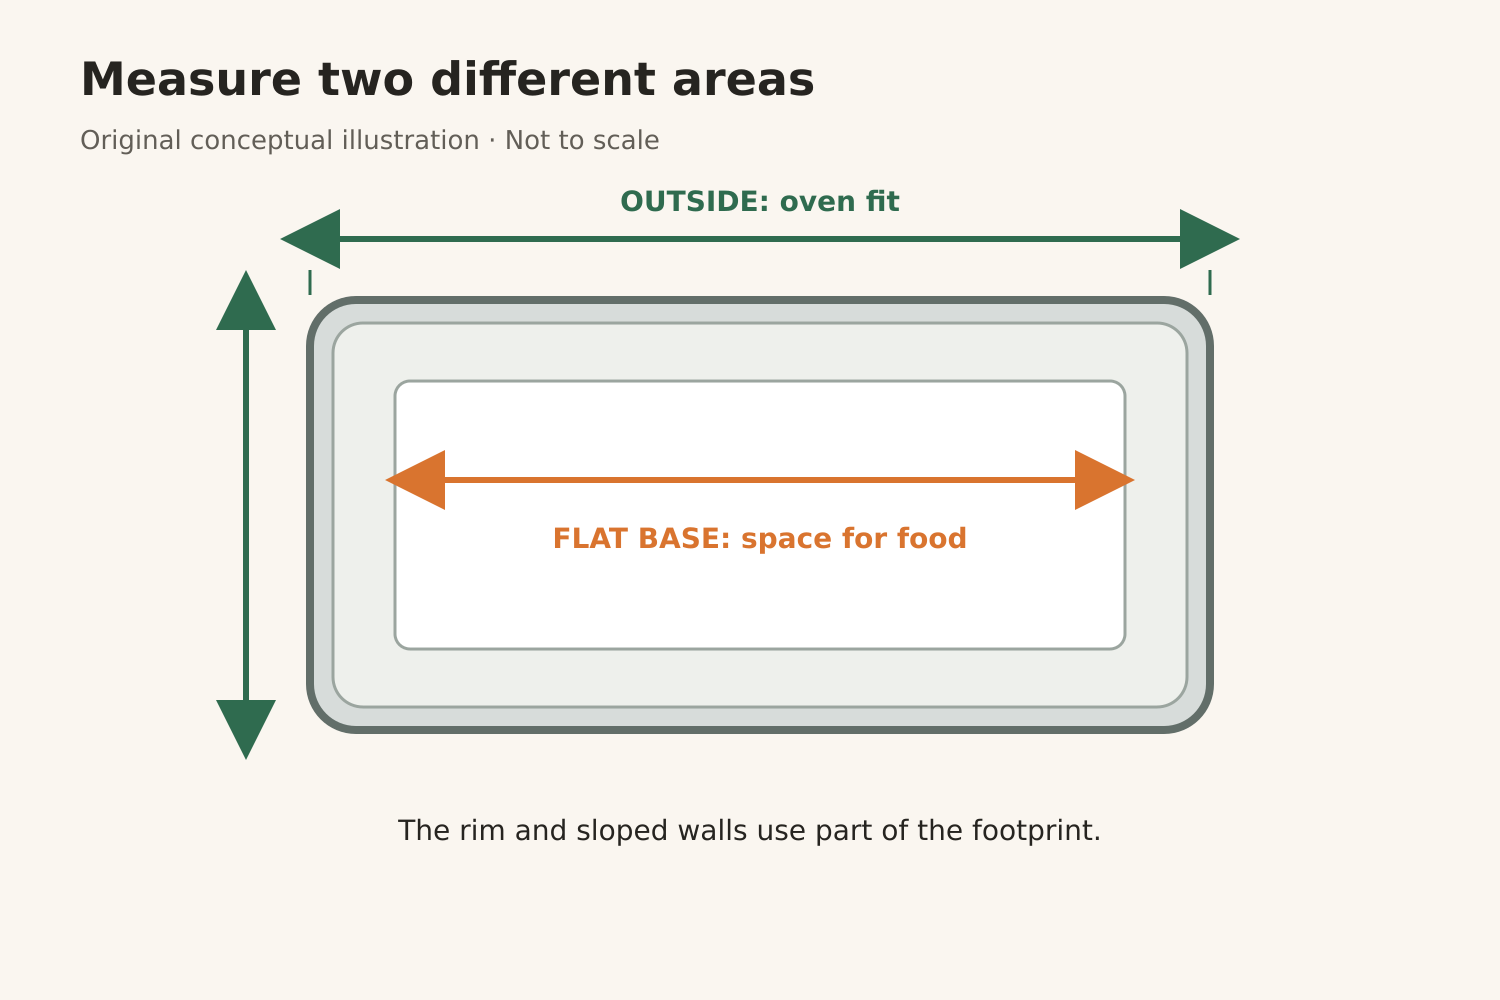
There are two measurements worth writing down:
- Outside length and width: the space the entire pan occupies, including the rim and any handles.
- Flat cooking area: the base available for food, inside the sloped sides.
A large advertised size does not mean all of that area is flat. If a recipe specifies a particular tray, check whether it means the outside dimensions or usable base. The distinction matters when you spread a batter to a set thickness or arrange individual portions.
With the oven cold, measure the usable rack and check the appliance manual for clearance requirements. Do not force the pan against the walls or use the oven’s overall exterior width as your measurement. Also check the sink, dishwasher if applicable, and storage slot. A pan that barely fits the oven can still be awkward to wash.
Which size earns its place?
| Size family | Typical outside footprint, not a guarantee | Useful jobs | Before you buy |
|---|---|---|---|
| Half sheet | Typical outside footprint, not a guaranteeAbout 18 × 13 in | Useful jobsA larger batch of vegetables or several bread portions | Before you buyCheck oven clearance and whether you can wash it comfortably |
| Quarter sheet | Typical outside footprint, not a guaranteeAbout 13 × 9½ in | Useful jobsSmaller meals, a few sandwiches or a separate side | Before you buyCheck the exact dimensions; small ovens vary |
| Smaller specialty tray | Typical outside footprint, not a guaranteeVaries by maker and appliance | Useful jobsOne portion or an appliance-specific task | Before you buyConfirm that its rim and handle fit the intended oven |
| Full sheet | Typical outside footprint, not a guaranteeAbout 26 × 18 in | Useful jobsCommercial-size batches | Before you buyDo not assume a home oven can accommodate it |
For a small household, two manageable trays may be more useful than one oversized pan. You can give foods with different cooking times their own tray and remove one without disturbing the other. Whether both can cook together depends on your oven, rack arrangement and recipe; owning two pans is not a promise of identical results on two levels.
We would avoid buying a larger pan simply to fit more food into a tightly packed layer. Start with the spacing called for in the recipe. If everything is crowded, a second batch may be the better choice.
Choose the surface for the job
For a first all-purpose tray, our preference is a light-colored, uncoated metal pan with a rim. The simple surface is easy to inspect, and parchment can be added when the recipe benefits from it. This is an editorial choice, not a claim that every light pan outperforms every coated pan.
KitchenAid’s bakeware guidance distinguishes light-colored aluminum, which tends toward lighter browning, from dark or dull finishes that promote darker, crisper results. Keep that difference in mind when moving a familiar recipe to a new tray. Watch the first batch rather than assuming a change of pan leaves the result unchanged.
| Material or finish | Reason to consider it | Rim and care checks |
|---|---|---|
| Uncoated aluminum | Reason to consider itA practical light-colored baking surface | Rim and care checksCheck reinforcement, hand-washing guidance and instructions for acidic foods |
| Coated metal | Reason to consider itRelease and cleanup may suit your routine | Rim and care checksVerify utensil restrictions, temperature limit and whether broiling is allowed |
| Stainless steel | Reason to consider itAn alternative material if that is your preference | Rim and care checksCheck the maker’s baking guidance, weight and cleaning instructions |
| Insulated sheet | Reason to consider itA specialized option for gentle bottom browning | Rim and care checksOften a cookie-focused choice; check whether it has a continuous rim |
Do not treat “ceramic,” “nonstick” or “professional” as a complete specification. Read what the pan is made from, what is on its cooking surface and how that surface must be used. A textured base is another feature to inspect, not automatic proof of better browning or easier cleaning.
Why we prefer a rim for everyday use
A shallow continuous rim gives loose food and small amounts of cooking liquid a boundary. That makes a rimmed sheet more versatile for vegetables and mixed baking tasks than a flat cookie sheet. It is still a shallow tray, not a deep roasting dish: choose another vessel when the recipe produces more liquid than the tray can comfortably contain.
A flat or open-sided cookie sheet has a different advantage. You can slide cookies or other delicate baked pieces off an unobstructed edge. If that is your main task, it may deserve a place beside the rimmed pan rather than replacing it.
Look at the corners, the rolled edge and where your oven mitts will grip. A reinforced rim can be useful, but a photograph cannot tell you how the pan feels loaded. Check its stated weight and return conditions if handling comfort is uncertain. We would favor a secure grip over decorative handles that make a tray harder to store.
Check the pan, liner and rack separately
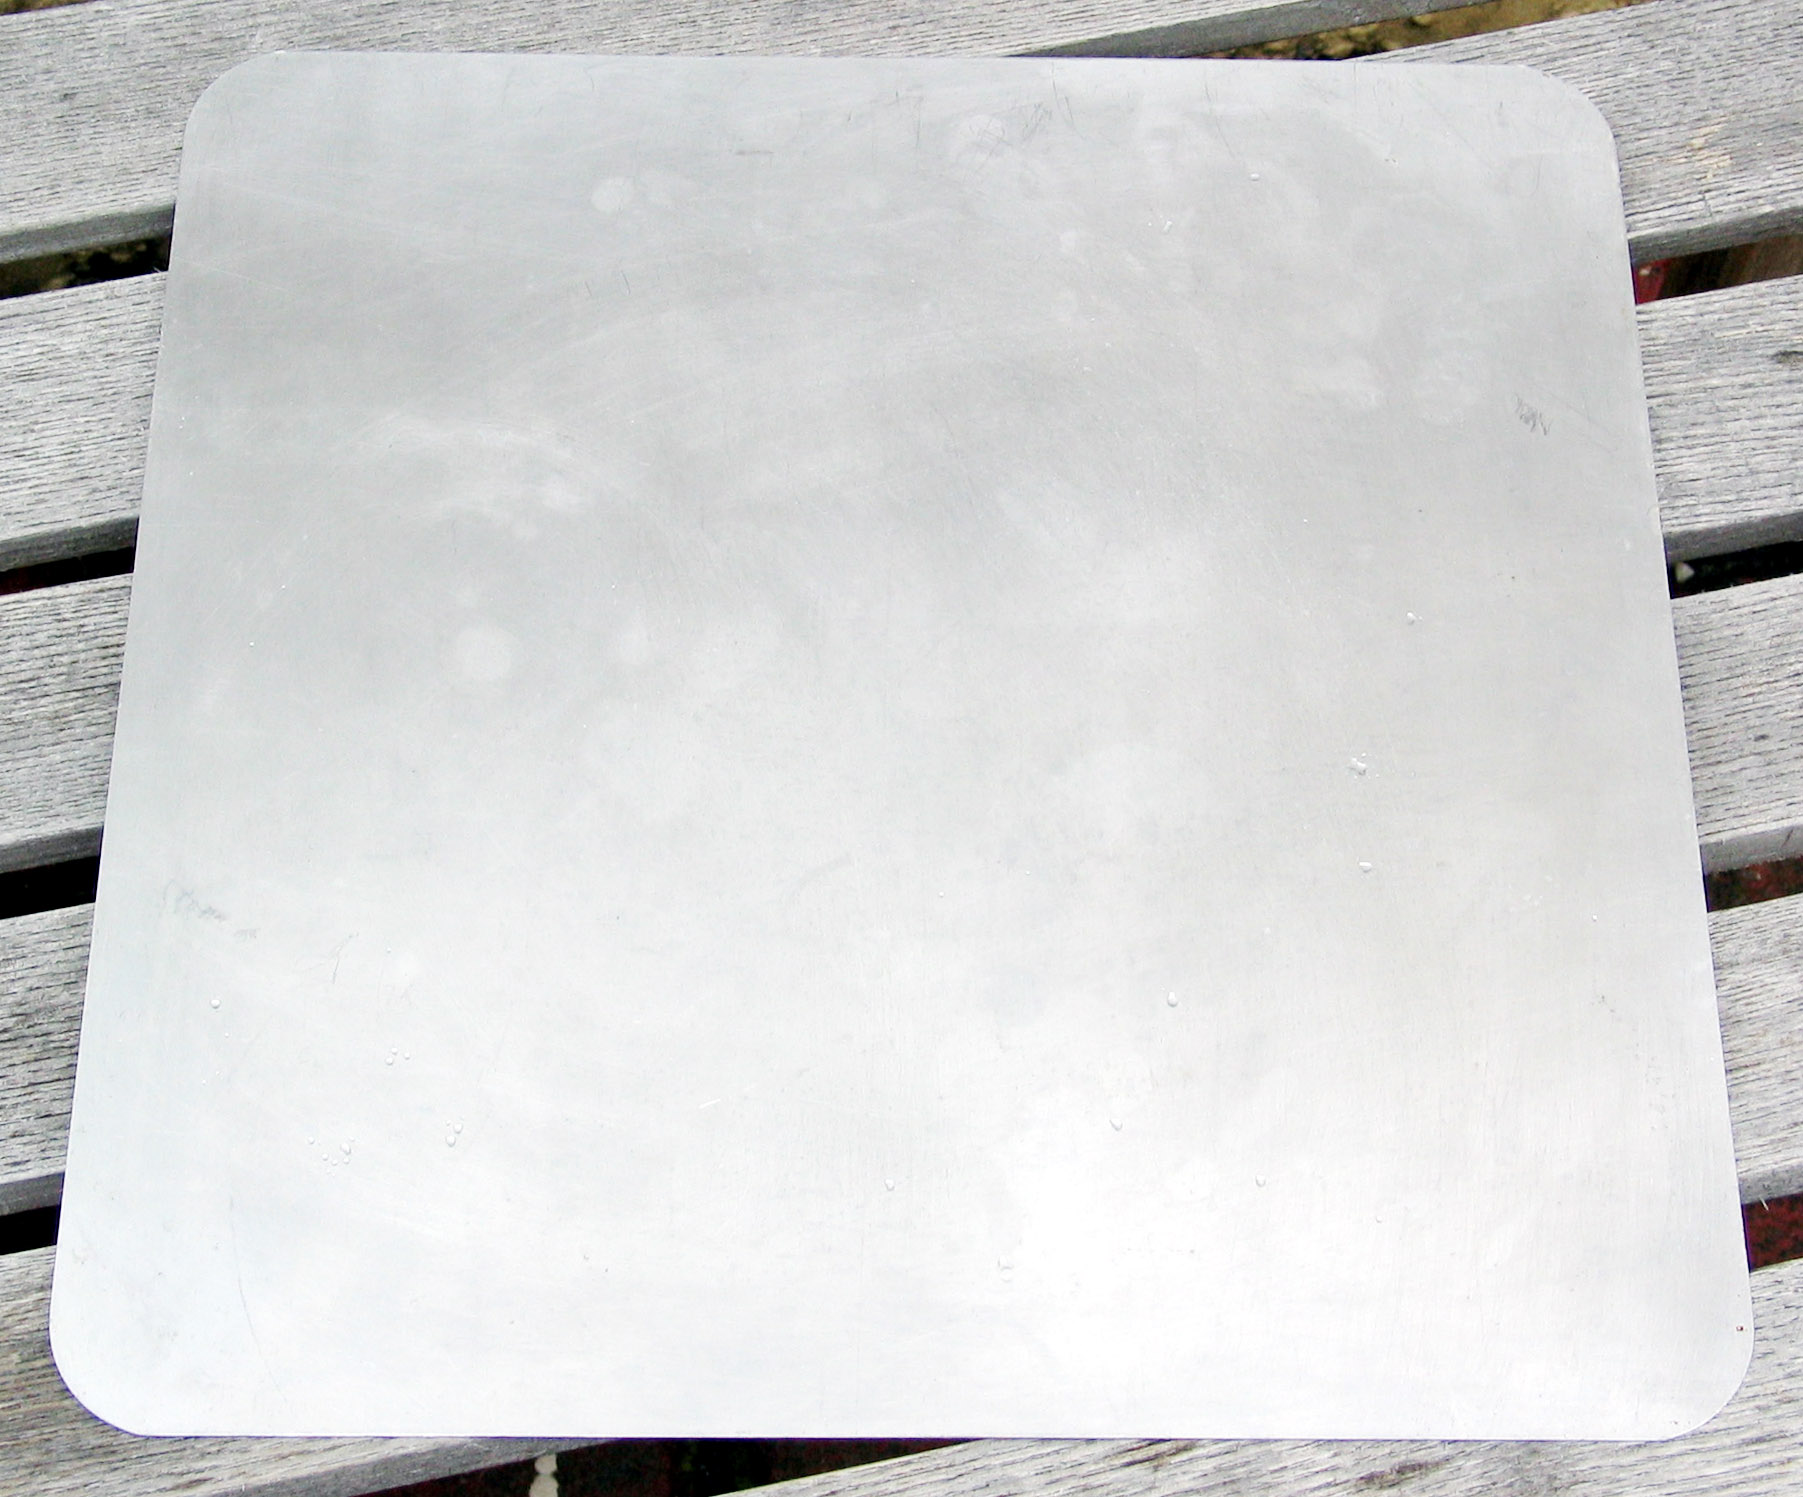
The pan’s temperature rating does not automatically apply to everything sitting on it. Read the limits for parchment, silicone mats and any removable rack. A cooling rack is not necessarily an oven rack, and oven-safe does not necessarily mean broiler-safe.
For example, Reynolds’ parchment guidance gives its parchment varieties a 425°F limit. That is a product-specific limit, not a universal rule for all liners. Reynolds also rules out broiling units and toaster ovens for that paper. Follow your own liner’s packaging and appliance instructions, including where paper must not touch the oven.
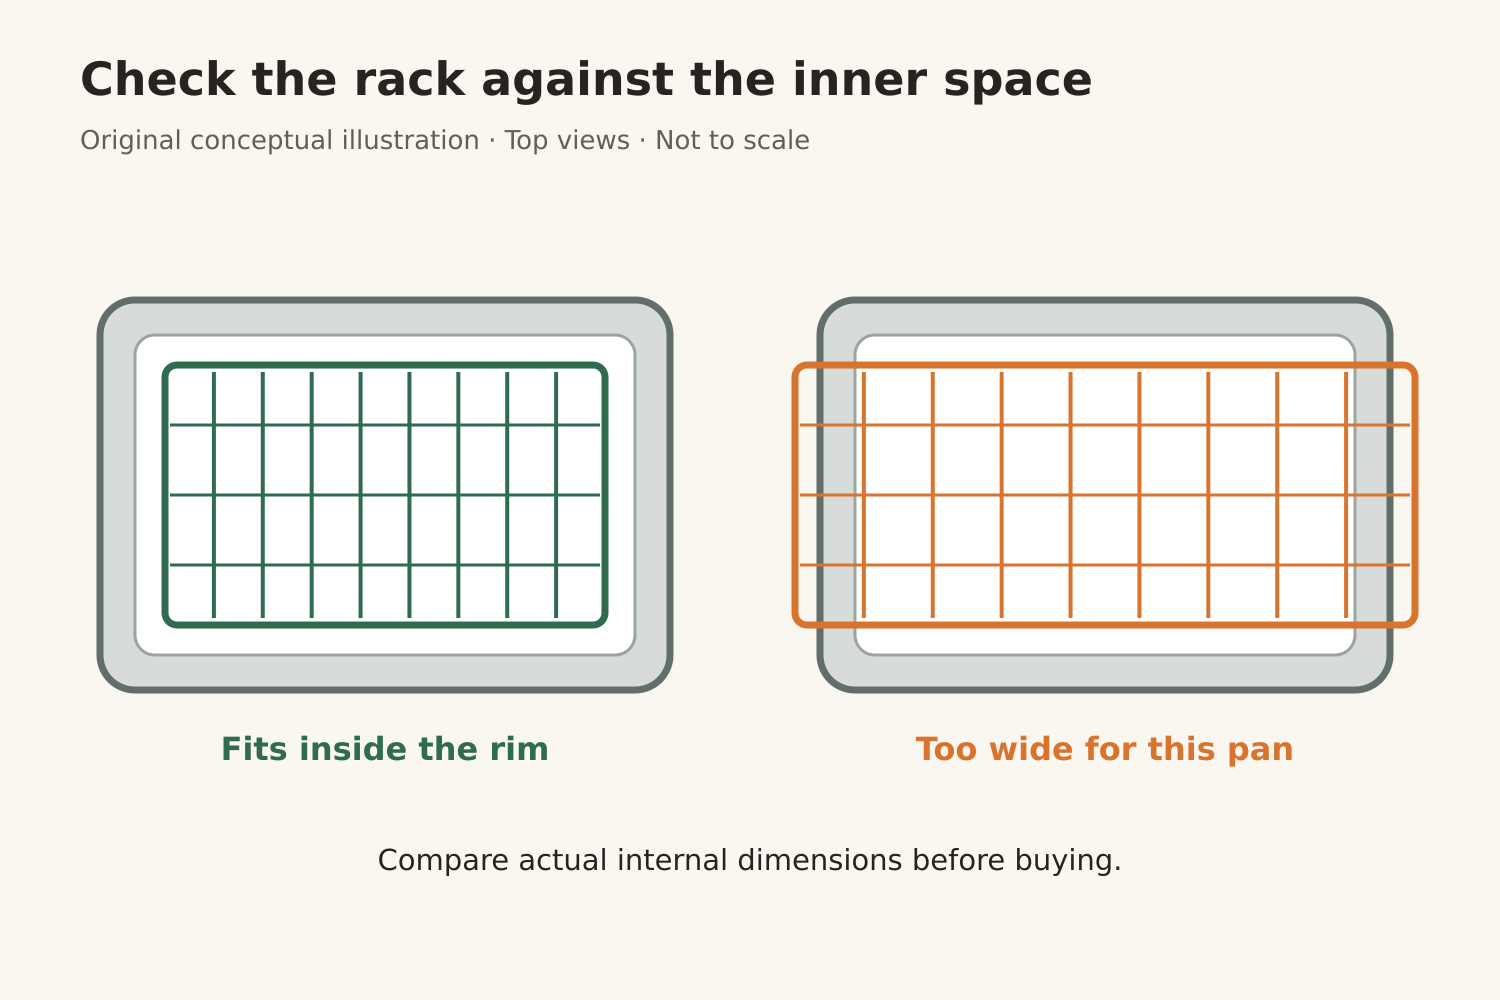
Check the fit of a rack inside the pan before ordering it. The outside size of the pan is not the space between its inner walls. The rack should sit securely rather than balance on a corner or prevent the oven door from closing.
Cleaning should influence the purchase
If you want to use a dishwasher, verify that permission for the exact pan instead of assuming all metal trays are dishwasher-safe. Some uncoated aluminum pans call for hand washing. Nordic Ware’s aluminum-pan care instructions warn that dishwasher detergent can discolor the finish and that prolonged contact with acidic ingredients can affect the surface. This illustrates why the care sheet matters; it is not a recommendation of that particular model.
Let the pan cool before cleaning it, and follow its maker’s guidance on soaking, scrubbers and utensils. A worn-looking tray and a peeling coated tray are not the same problem. Inspect the surface, check the instructions and replace equipment when its condition makes safe handling or intended use uncertain.
A simple storage check helps too: can you take out the sheet without unloading every cake tin? Vertical storage or a divider may make an existing pan easier to use, without buying another set.
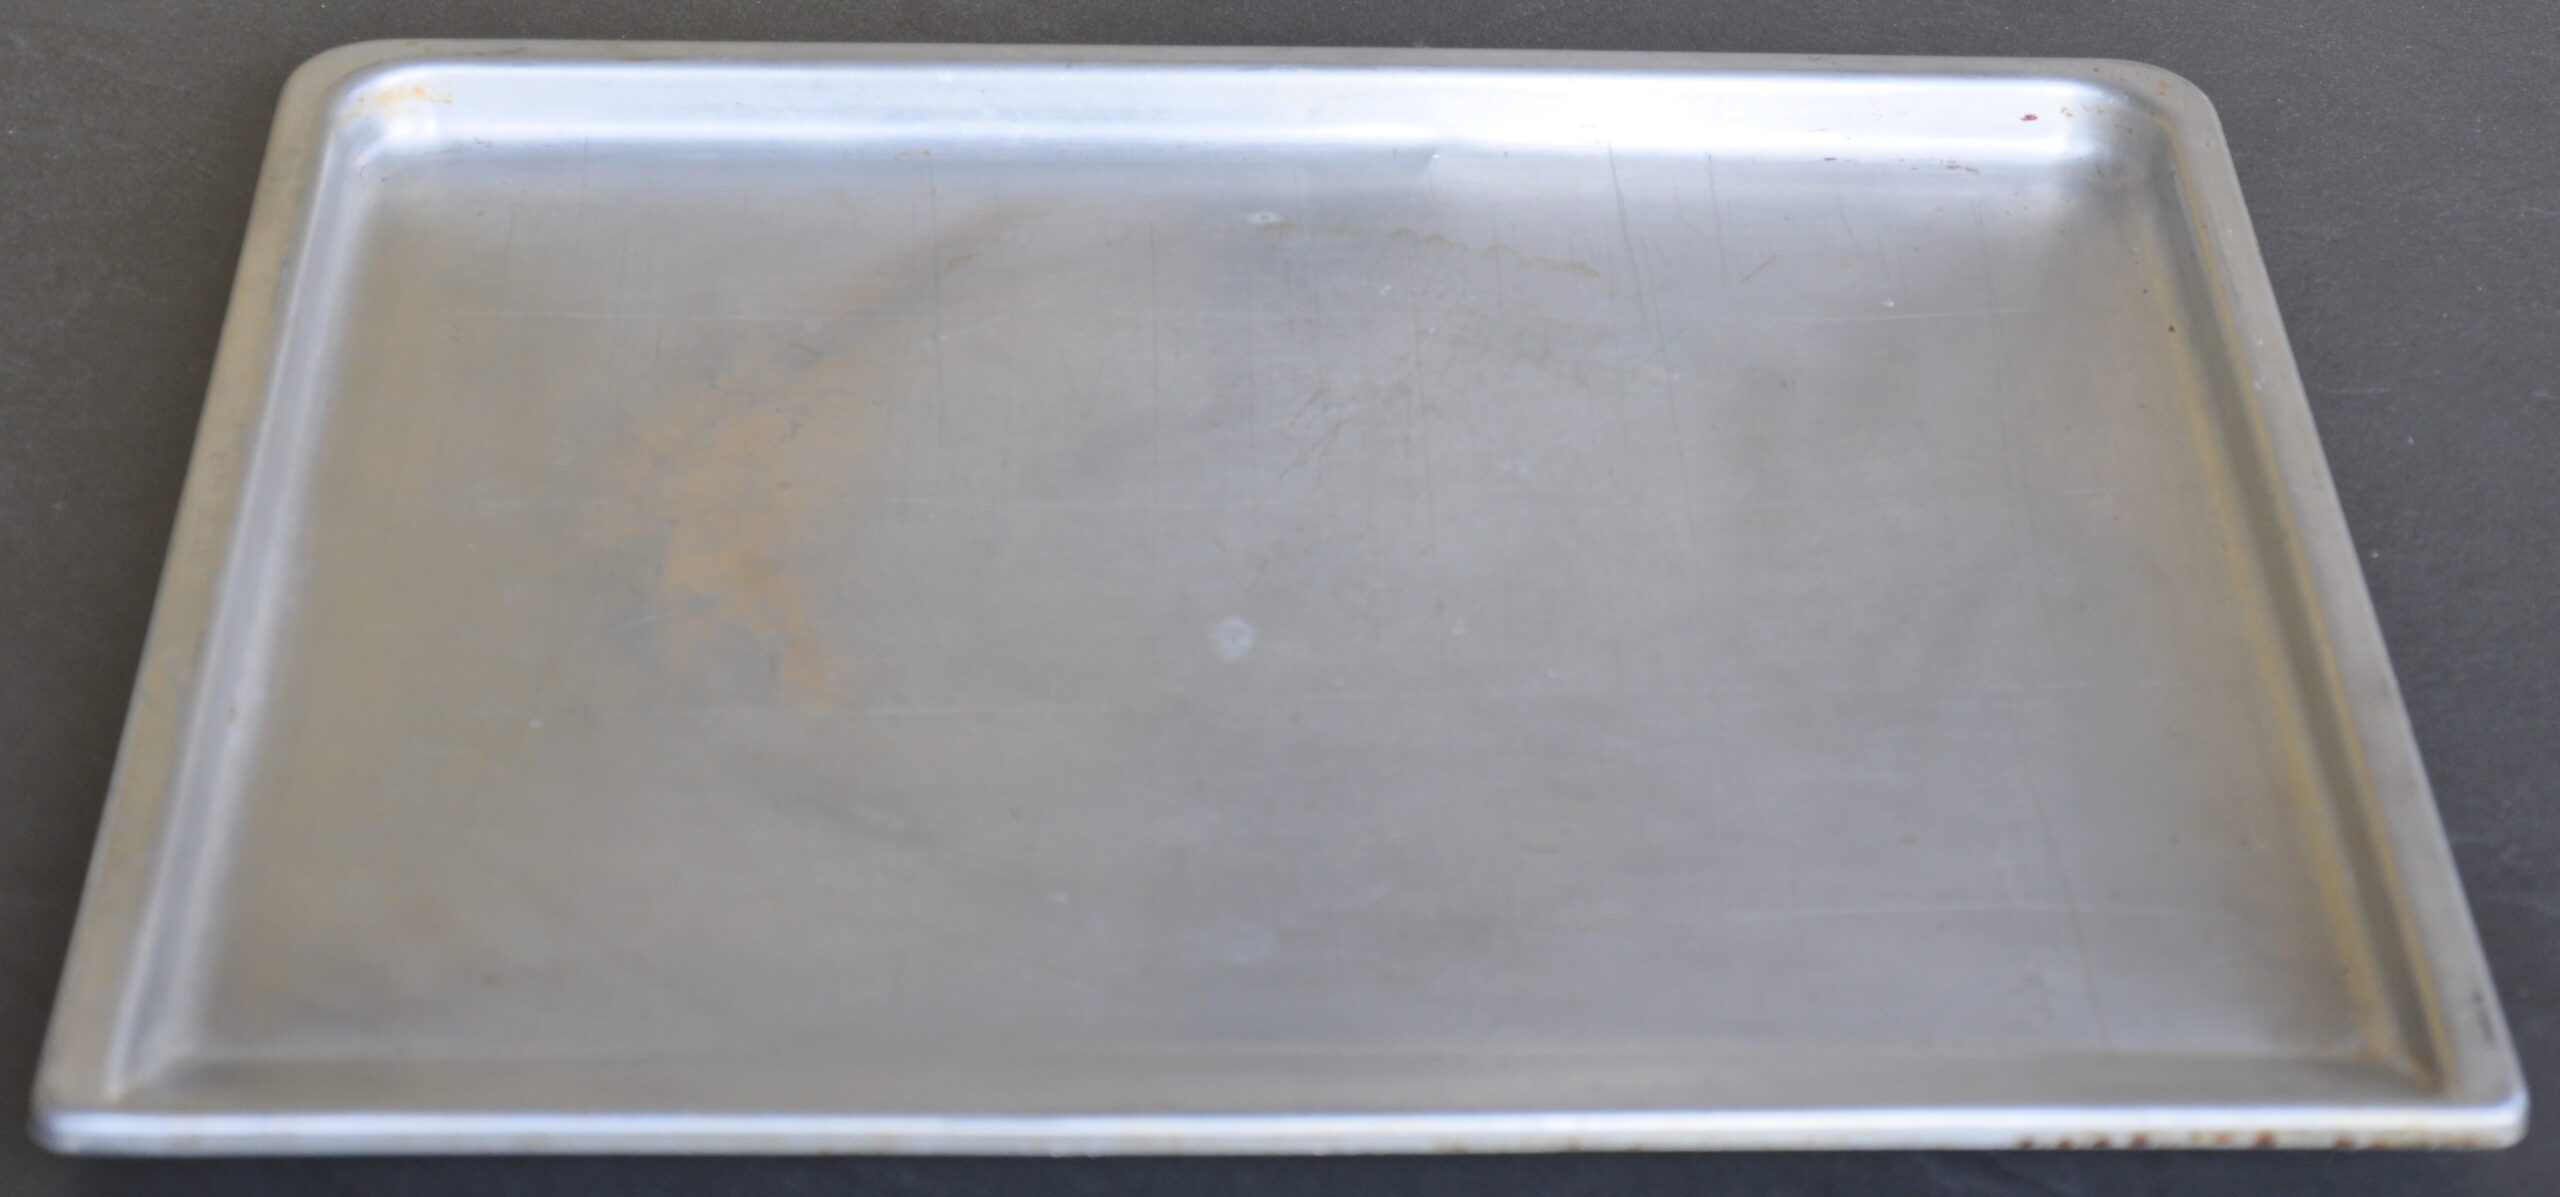
Our buying checklist
Before paying, confirm the exact outer size, usable base, material, finish, rim design, temperature restrictions and cleaning method. Choose a second tray only when you can name its regular job.
For low-carb bread snacks, our bread-chip guide offers a practical use for a sheet pan. A tall sandwich loaf needs a different shape; see our loaf-pan guide before trying to make one pan do every job.
Our recommendation is straightforward: keep a good tray you already own; otherwise, buy the smallest dependable collection that fits your normal cooking. The pan you can lift, clean and store comfortably is more useful than an impressive set that stays in the cupboard.
Editorial method: category guidance based on manufacturer information checked October 31, 2026, with LessCarby’s stated buying preferences. No hands-on testing, exact-model ranking or affiliate links are claimed. Illustrative photographs do not establish the model, material or carbohydrate content of the items shown.
Plan Your Week with Our Free Meal Planner
Choose seven days of meals, adjust portions, and download your shopping list. No email signup needed.
Open the Free Planner →


