
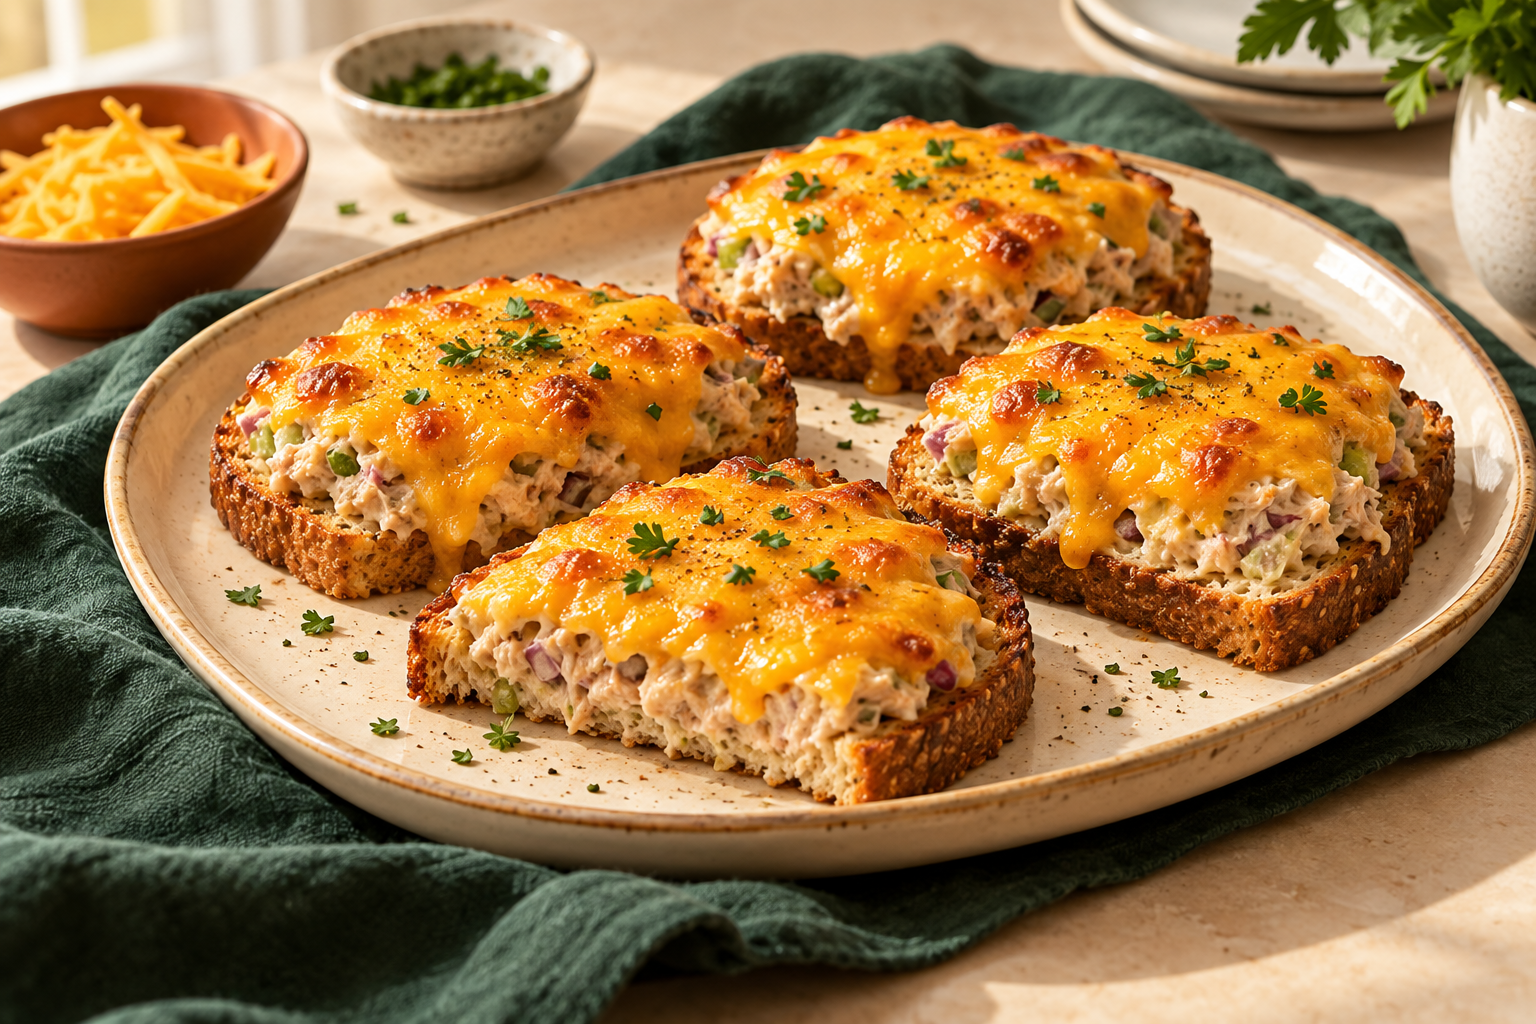
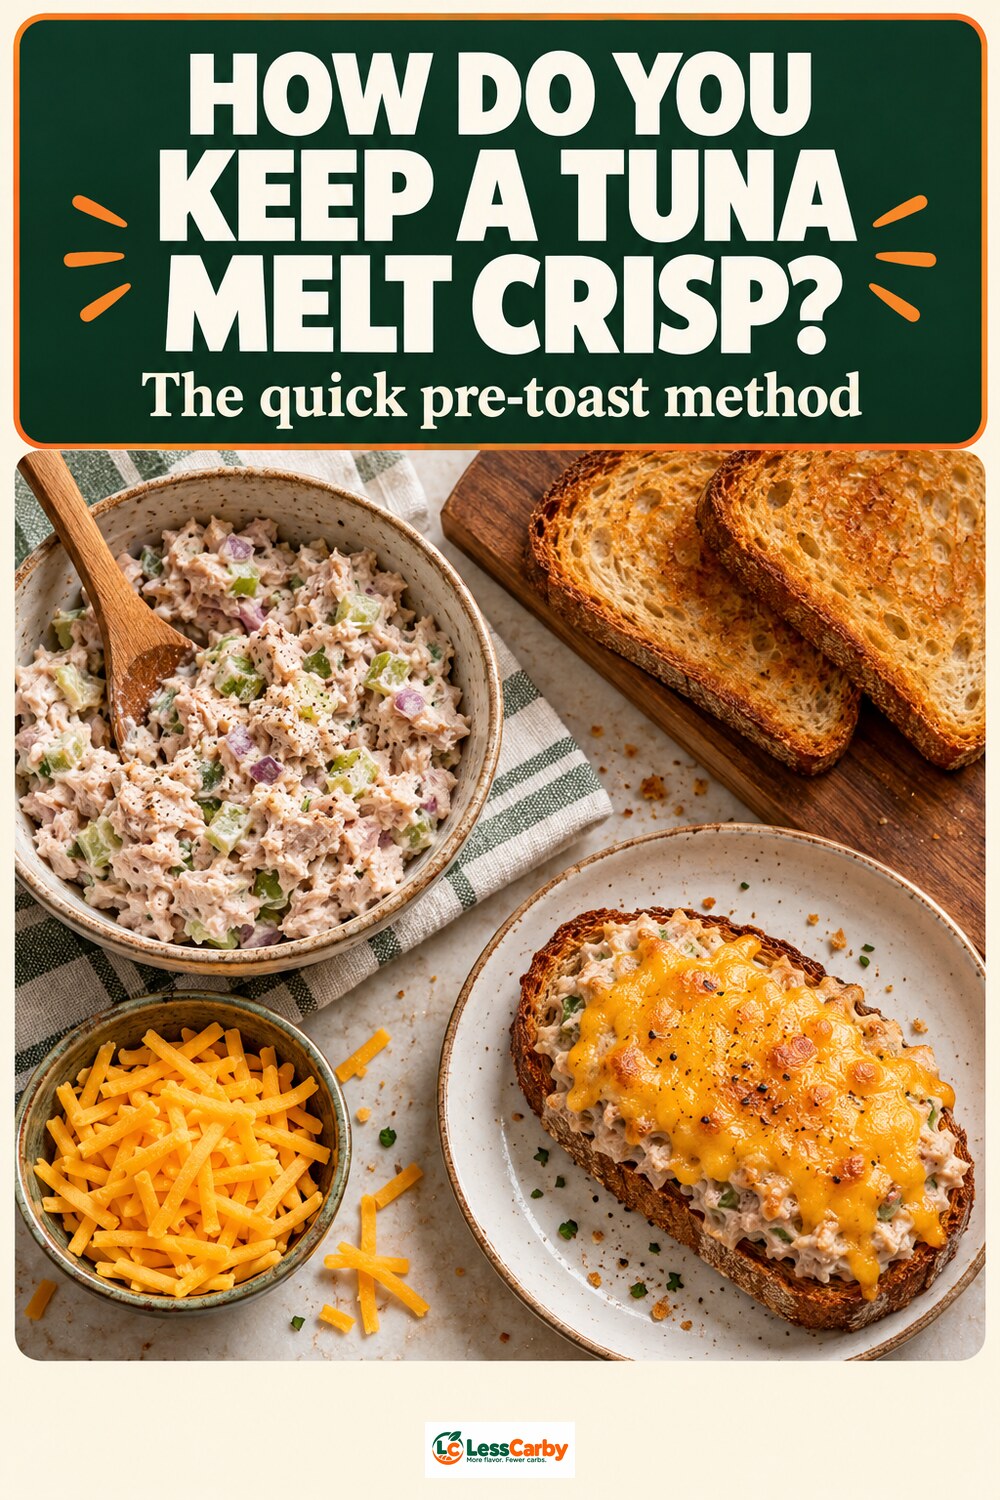
Short answer: A low-carb tuna melt works best when you toast the bread before adding the filling. That small step keeps the bottom crisp while the cheddar melts, instead of leaving a soft slice under warm tuna salad. This version makes four open-faced melts in about 20 minutes and uses ordinary canned light tuna, a creamy-crunchy filling, and one slice of cheese per toast.
Best method: toast the bread first, drain the tuna thoroughly, keep the filling layer modest, then finish under high heat just until the cheese bubbles.
Why this method works
Low-carb sandwich bread is often thinner and higher in added fiber than a conventional bakery slice. A wet filling can soften it quickly. Pre-toasting creates a drier surface, while draining the tuna and using only enough mayonnaise to bind it limits extra moisture. An open-faced format also gives heat a shorter path to the center, so the cheese melts before the bread becomes too dark.
The recipe is deliberately flexible about the bread brand. Nutrition labels and slice sizes vary widely, so choose a loaf you already enjoy and check the serving information on your package. If you need help comparing total carbohydrate, fiber, and serving size, use our guide to reading a low-carb bread label.
Low-Carb Tuna Melt recipe
Yield: 4 open-faced melts
Serving size: 1 open-faced melt
Prep time: 10 minutes
Cook time: 8–10 minutes
Total time: about 20 minutes
Ingredients
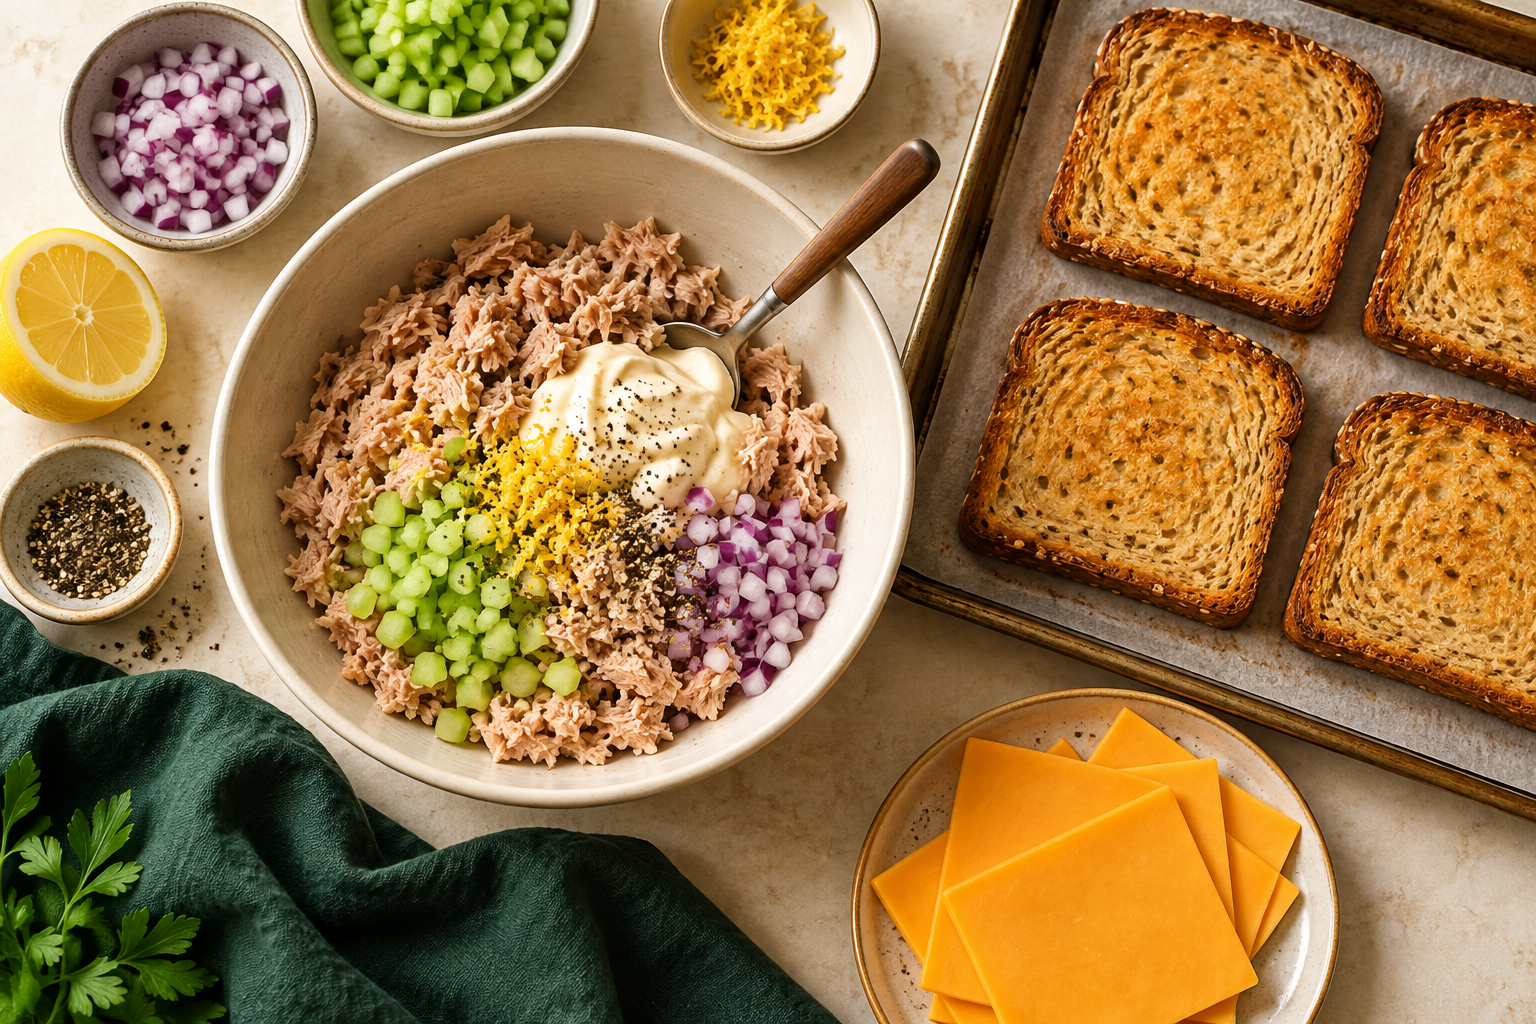
- 1 can (5 ounces / 142 g before draining) light tuna in water, drained very well
- 2 tablespoons mayonnaise
- 1 teaspoon Dijon mustard
- 1 tablespoon finely diced celery
- 1 tablespoon finely diced red onion or scallion
- 1 teaspoon fresh lemon juice
- 1/4 teaspoon black pepper
- 4 slices low-carb sandwich bread
- 4 thin slices cheddar cheese, about 3 ounces / 85 g total
- 4 thin tomato slices, patted dry (optional)
- Chopped parsley, dill, or chives for finishing (optional)
Allergen note: this version contains fish, egg in standard mayonnaise, milk in cheddar, and usually wheat in the bread. Dijon mustard may be a concern for people with mustard allergy. Check every package because formulas vary.
Instructions
- Heat the oven. Place a rack about 6 inches from the top element and heat the oven or toaster oven to 425°F (220°C). Line a small sheet pan for easier cleanup.
- Drain the tuna. Press out as much water as possible with the back of a spoon. Transfer the tuna to a bowl and break up large pieces.
- Mix the filling. Add mayonnaise, Dijon, celery, onion, lemon juice, and pepper. Fold until evenly combined. The mixture should hold together without looking runny.
- Pre-toast the bread. Put the bread on the pan and bake for 3–4 minutes, until the surface feels dry and the edges begin to color. Flip and toast 1 minute more if your loaf is especially soft.
- Build the melts. Divide the tuna mixture among the four slices, spreading it close to the edges. Add a patted-dry tomato slice if using, then cover each toast with cheddar.
- Melt the cheese. Return the pan to the oven for 4–6 minutes, until the filling is hot and the cheese is fully melted.
- Brown briefly. For more color, switch to broil for 30–60 seconds. Stay beside the oven; thin bread and cheese can brown quickly.
- Serve. Rest for 2 minutes, add herbs if desired, and serve while the bottom is still crisp.
How to keep the bread crisp
- Drain more than you think you need to. Water left in the tuna is the biggest source of sogginess.
- Toast before topping. Do not rely on the final cheese-melting time to crisp the underside.
- Pat tomato dry. Tomato adds freshness but also moisture. Skip it or place it above the tuna if your bread is delicate.
- Do not overload. Four modest melts stay crisper than two very thick ones.
- Serve promptly. Any toast softens as it sits under a warm filling.
Bread and cheese choices
A neutral white or wheat-style low-carb bread lets the tuna mixture lead. A seeded loaf adds flavor but can compete with the lemon and Dijon. For a sturdy base, choose slices without large holes and avoid a loaf that already feels damp from refrigeration.
Cheddar gives the classic sharp, salty finish. Swiss melts smoothly and tastes milder; provolone is a good middle ground. Pre-shredded cheese works, but a thin slice gives even coverage with less mess. Cheese and canned tuna both contribute sodium, so taste the filling before adding salt.
Useful variations
Pickle tuna melt
Replace the celery with one tablespoon of finely chopped dill pickle. Drain it well, and skip extra salt until you taste the mixture.
Spicy tuna melt
Mix in one teaspoon of hot sauce or a small amount of chopped pickled jalapeño. Keep the quantity modest so the filling does not become watery.
Mediterranean-style melt
Use a little chopped parsley, a teaspoon of capers, and provolone. Capers are salty, so rinse and drain them first.
No-mayo option
Use two tablespoons of plain Greek yogurt. The flavor will be tangier and the filling can release more liquid, so drain the tuna very thoroughly and serve right away.
What to serve with it
One melt works well with a green salad, cucumber slices, pickles, or a cup of soup. Two melts make a larger meal, but remember that every bread label is different; calculate the bread portion you actually eat. For another warm sandwich method, see our low-carb grilled cheese guide. If you prefer soup-and-toast combinations, our soup and toast pairings offer more ideas.
Estimated nutrition
Estimated per open-faced melt: about 220 calories, 15 g protein, 15 g total carbohydrate, 8 g fiber, 7 g net carbs, 11 g fat, and 500 mg sodium.
This estimate assumes one 40-calorie bread slice with 14 g total carbohydrate and 8 g fiber, one-fourth of a 5-ounce can of light tuna, 1/2 tablespoon mayonnaise, and about 3/4 ounce cheddar. Tomato and herbs add very little. Your result can change substantially with the bread, tuna, mayonnaise, cheese thickness, and sodium on the labels, so treat the package information as the final source.
Storage and reheating
The mixed tuna filling can be refrigerated in a covered container for up to 3 days. Keep it separate from the bread and assemble only what you plan to eat. Reheat assembled leftovers in a toaster oven or air fryer at 350°F until hot; a microwave melts the cheese but softens the toast. Discard food that has been left at room temperature for more than 2 hours.
Tuna choice and mercury context
Light tuna is a practical choice for this recipe. People who are pregnant or breastfeeding, and caregivers choosing fish for children, should use the current FDA/EPA fish advice for species and serving frequency rather than treating every tuna product as identical.
Frequently asked questions
Can I make this in an air fryer?
Yes. Pre-toast the bread at 350°F for 2–3 minutes, add the filling and cheese, then cook another 3–5 minutes. Use a rack or another air-fryer-safe restraint if the fan can lift light bread or cheese.
Can I use tuna packed in oil?
Yes. Drain it thoroughly and consider reducing the mayonnaise to one tablespoon before deciding whether the filling needs more.
Can I prepare the melts ahead?
Prepare the tuna mixture ahead, but keep bread, filling, tomato, and cheese separate. Assembling just before heating gives the crispest result.
Why did my tuna melt turn soggy?
The usual causes are tuna that was not fully drained, untoasted bread, wet tomato, or too much filling. Correcting those four details makes the biggest difference.
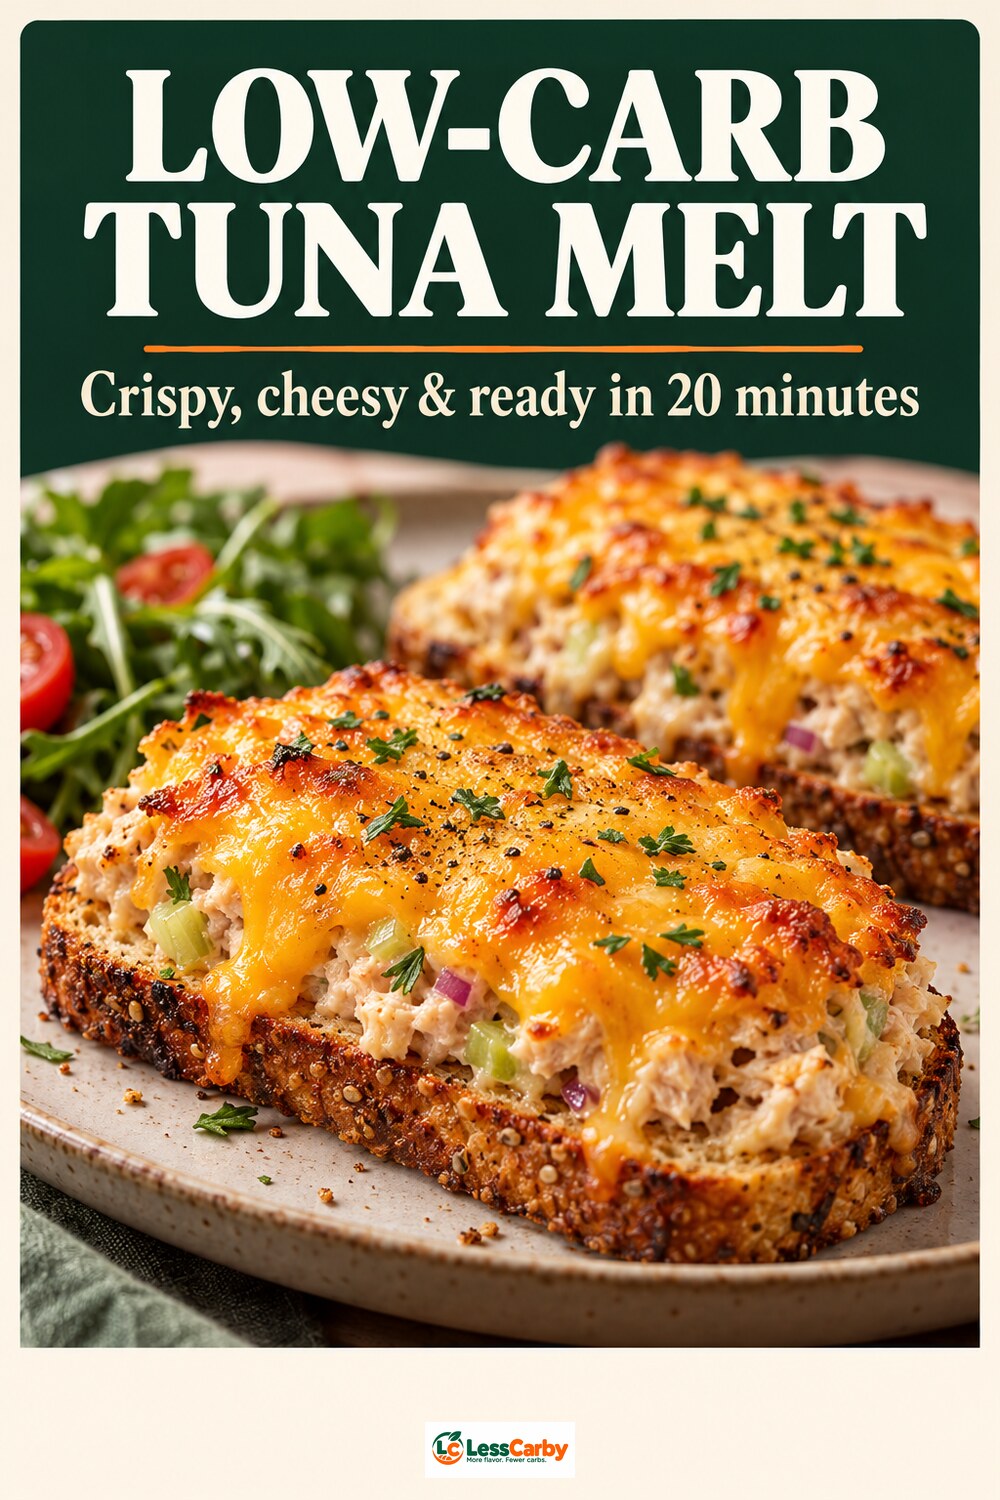
Save This Post on Pinterest
Choose the version you prefer and save the recipe for later.
Bottom line
The dependable tuna-melt sequence is simple: drain, mix, pre-toast, top, and melt. Using an open-faced format keeps the portion clear and helps a thin low-carb slice stay crisp. Once the basic method works with your bread, adjust the herbs, cheese, and heat without changing the moisture controls.
Plan Your Week with Our Free Meal Planner
Choose seven days of meals, adjust portions, and download your shopping list. No email signup needed.
Open the Free Planner →
