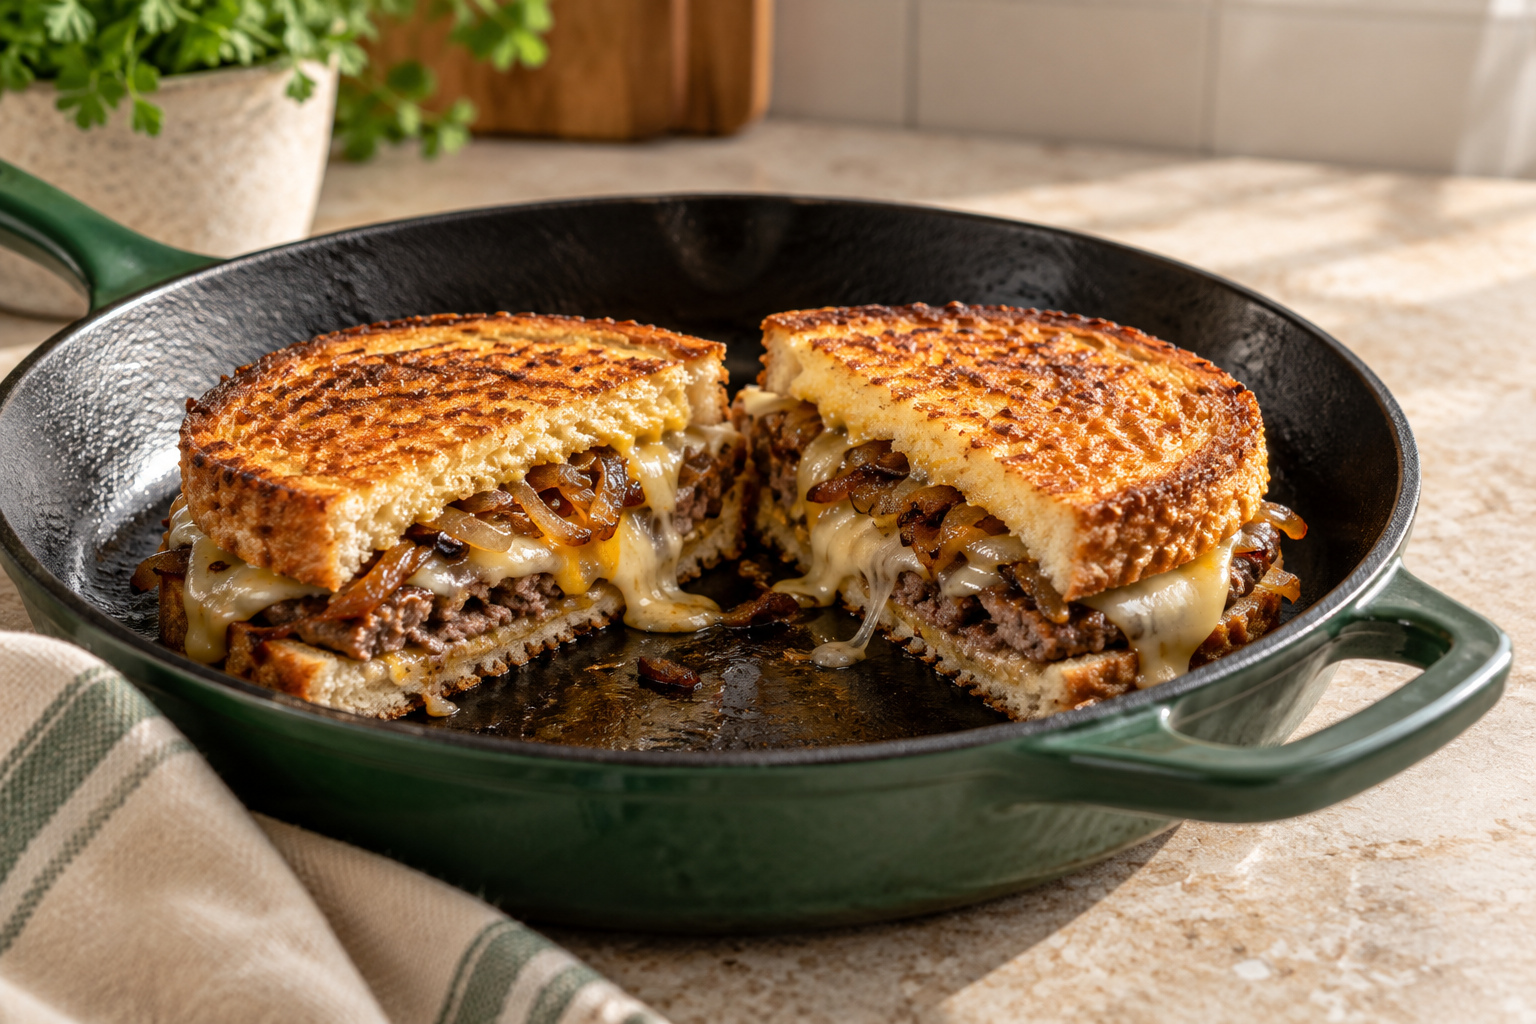
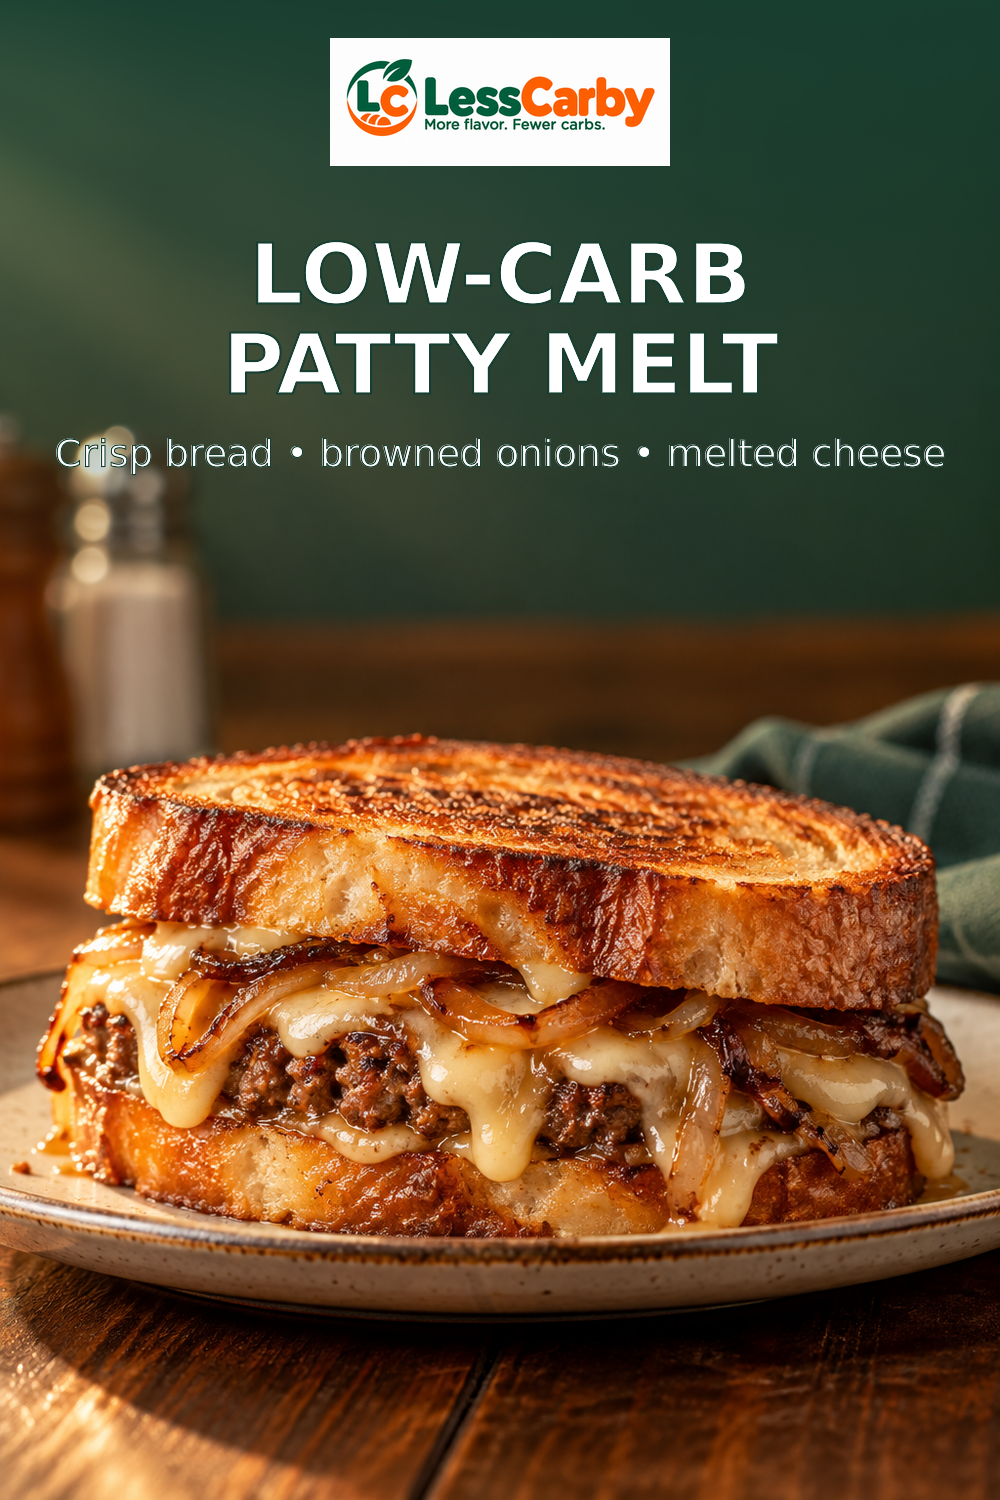
A good patty melt is a study in contrast: deeply browned onions, juicy beef, melted cheese, and bread that stays crisp enough to hold everything together. This low-carb version keeps that familiar diner structure while putting the bread choice—and its moisture limits—front and center.
At a glance: Makes 4 sandwiches. Plan on about 45 minutes, including the time needed to brown the onions. Cook ground beef to 160°F (71°C), measured with a food thermometer.
What makes a patty melt different from a cheeseburger?
A patty melt is usually cooked on sliced bread instead of a bun. The classic build combines a thin beef patty, browned onions, cheese, and griddled bread. That shape matters with low-carb bread: a thin patty cooks quickly, while a compact filling gives the bread a better chance of staying intact.
You do not need one “perfect” loaf. Choose slices that are broad enough for the patty and sturdy enough to toast. A very soft loaf may compress; a dry, delicate loaf can crack. If your bread is frozen, thaw only the slices you need and blot away surface moisture before cooking. For more bread-handling ideas, see our guides to crisp low-carb grilled cheese and quick low-carb panini.
Ingredients for 4 patty melts
- 1 pound ground beef
- 1 large yellow onion, halved and thinly sliced
- 8 slices low-carb sandwich bread
- 4 slices Swiss cheese
- 4 slices cheddar cheese
- 1 tablespoon neutral cooking oil, divided
- 2 tablespoons softened butter or mayonnaise, for the outsides of the bread
- 1 teaspoon Worcestershire sauce, optional
- 1 teaspoon Dijon mustard, plus more for serving if you like
- 1/2 teaspoon kosher salt, divided
- 1/4 teaspoon black pepper
About the bread: “Low-carb” is not a standardized serving size or recipe. Check the label on your own loaf for serving size, total carbohydrate, fiber, allergens, and storage directions. This recipe does not provide a carb estimate because the number can change substantially with the bread and cheese you choose.
Step 1: Brown the onions without rushing
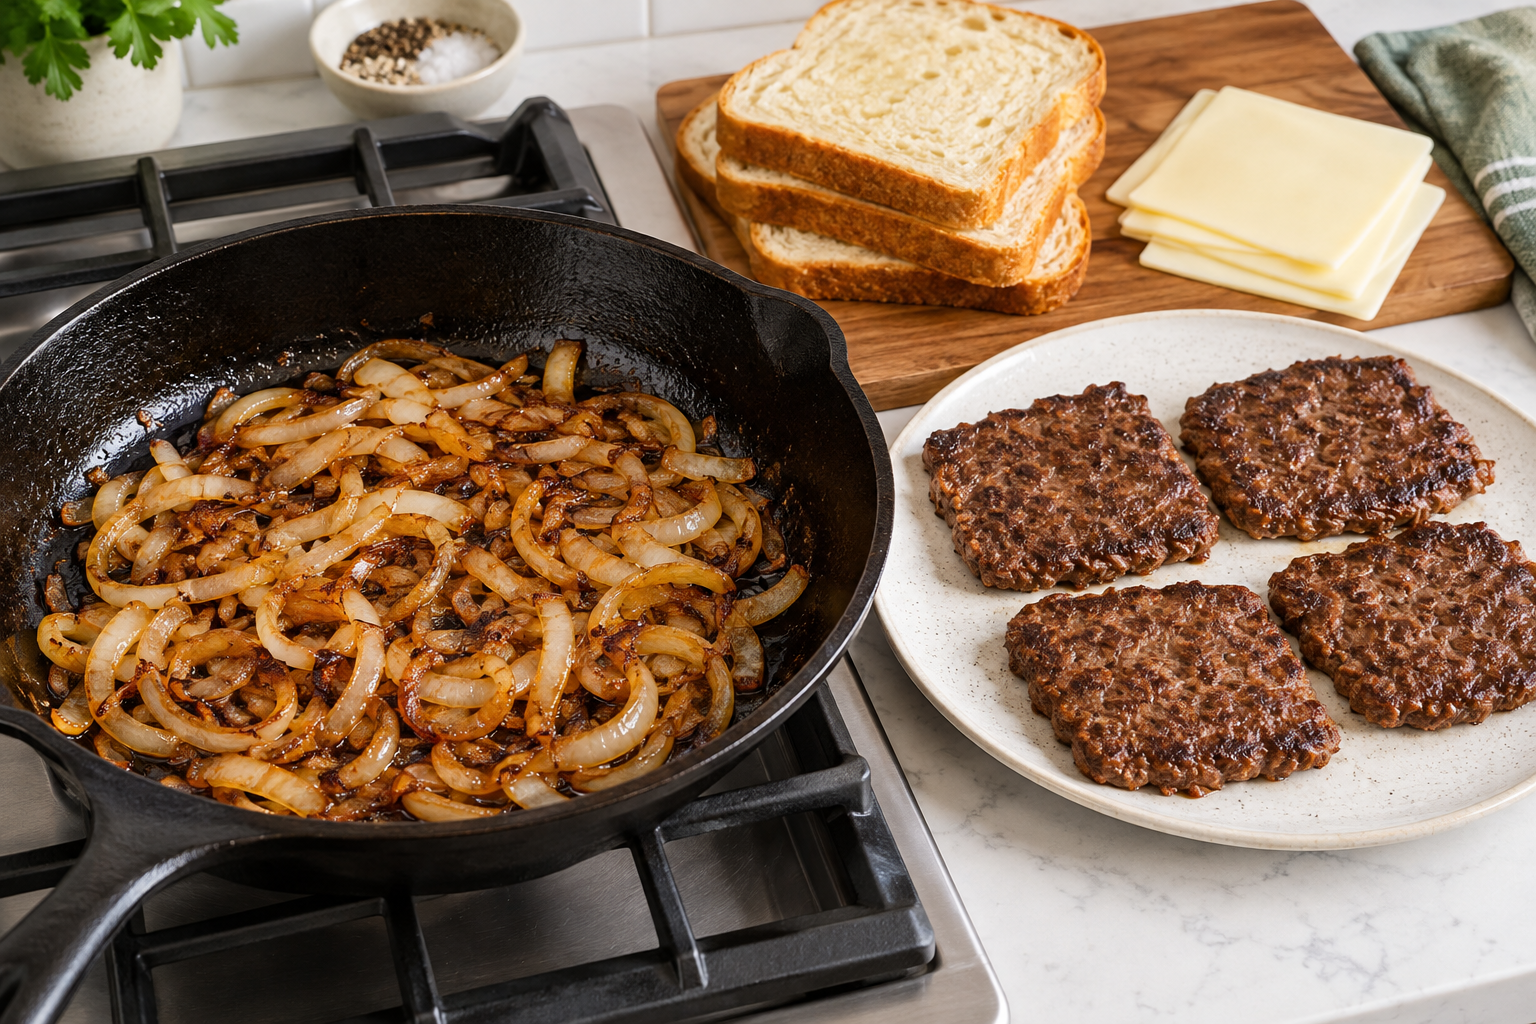
Heat a large skillet over medium-low heat. Add 2 teaspoons of oil, the sliced onion, and a small pinch of the salt. Cook for 18 to 25 minutes, stirring every few minutes. If the dark bits on the pan threaten to burn, add a tablespoon of water and scrape them up.
The goal is soft, browned onion with very little loose moisture. High heat may color the edges quickly while leaving the center sharp and wet. That extra water can steam the bread later. When the onions are tender and a deep golden brown, transfer them to a plate and wipe out loose moisture from the skillet.
Step 2: Shape thin patties that fit the bread
Divide the beef into four equal portions. Shape each portion into a thin rectangle or oval slightly larger than a bread slice; the meat will shrink as it cooks. Press a shallow indentation across the center so the patty stays flatter. Season both sides with the remaining salt and the pepper.
Keep raw beef and its utensils away from the bread, cheese, and cooked onions. Wash your hands after shaping the patties and use a clean plate for the cooked meat. The USDA advises cooking ground beef to a safe minimum internal temperature of 160°F (71°C); color alone is not a reliable test.
Step 3: Cook the beef
Return the skillet to medium-high heat and add the remaining teaspoon of oil. Cook the patties without crowding the pan, working in batches if needed. Flip when the first side is well browned. Add the Worcestershire sauce during the final minute if using.
Check the center of each patty with an instant-read thermometer. Once it reaches 160°F, move it to a clean plate. The thin shape should give you browned surfaces without forcing the sandwich to become too tall.
Step 4: Build for crispness
Lay out the eight bread slices. Spread a thin layer of Dijon on four interior faces. Add one slice of Swiss, a cooked patty, one quarter of the onions, and one slice of cheddar to each. Close with the remaining bread.
Spread a thin, even coat of softened butter or mayonnaise on the outside of each sandwich. More is not always better: a heavy layer can soak a porous low-carb slice before the crust forms.
Step 5: Griddle slowly enough to melt the cheese
Reduce the clean skillet to medium-low. Add two sandwiches and press lightly with a spatula—just enough to make contact, not enough to squeeze out the filling. Cook for 3 to 5 minutes per side, adjusting the heat so the bread browns while the cheese melts.
If the bread colors before the cheese softens, turn the heat down and cover the pan for 30 to 60 seconds. Remove the cover promptly so trapped steam does not soften the toast. Let each sandwich rest on a wire rack for 2 minutes before cutting. A plate traps steam underneath; a rack protects the crisp underside.
A simple sauce that will not flood the bread
For a tangy diner-style spread, stir together 2 tablespoons mayonnaise, 1 tablespoon Dijon mustard, and 1 teaspoon pickle brine. Serve it on the side. Keeping a wet sauce outside the sandwich is the easiest way to protect a delicate loaf.
Troubleshooting low-carb bread
Use less pressure, turn with a wide spatula, and let frozen slices thaw fully before griddling.
Dry the pan after the onions, use a thin fat layer, and give the first side uninterrupted contact.
Choose moderately lean beef, drain excess skillet fat, and keep the patty thin.
Lower the heat, cover briefly, then uncover to let steam escape before serving.
Make-ahead and leftovers
You can brown the onions up to three days ahead and refrigerate them in a covered container. You can also shape the raw patties a day ahead, but keep them covered, cold, and separate from ready-to-eat ingredients. Assemble the sandwiches only when you are ready to griddle them.
Refrigerate cooked leftovers within two hours. FoodSafety.gov recommends shallow containers and using refrigerated leftovers within three to four days. Reheat the beef and onions thoroughly, then griddle with fresh bread for the best texture. Their guidance says leftovers should reach 165°F (74°C) when reheated.
Easy variations
- Mushroom-Swiss: Cook sliced mushrooms until their moisture evaporates, then add them with the onions.
- Spicy: Add pickled jalapeño slices after cooking; drain and blot them first.
- Turkey: Use ground turkey and cook it to 165°F (74°C).
- Open-face: Use one toasted slice per serving, then finish briefly under a broiler-safe setup to melt the cheese. Watch closely.
Frequently asked questions
Can I use pre-sliced cheese?
Yes. Pre-sliced cheese creates an even layer and is convenient. Choose any cheese that melts well and fits your dietary needs; Swiss and cheddar give the sandwich a familiar sharp, nutty balance.
Should I toast the bread first?
Usually not. Pre-toasting can make some high-fiber loaves brittle. Griddling the fully assembled sandwich gives the cheese time to anchor the layers. If your bread is unusually moist, a very light dry toast may help.
What side works well?
A crisp green salad, cucumber pickles, roasted broccoli, or a cup of soup keeps the meal simple. Choose the side based on your own nutrition goals rather than assuming the bread alone determines the whole meal.
How to serve it without losing the crunch
Cut the sandwich only after the short rack rest, then serve it immediately. If you are making four, hold the first pair on a rack in a 200°F oven while you cook the second pair; do not stack or cover them. Put pickles, sauce, and any dressed salad beside the sandwich rather than underneath it. For lunch packing, keep the cooked beef, onions, cheese, and bread separate, then assemble and toast at mealtime. A fully assembled patty melt will soften as it sits, even when the bread begins crisp.
The short version
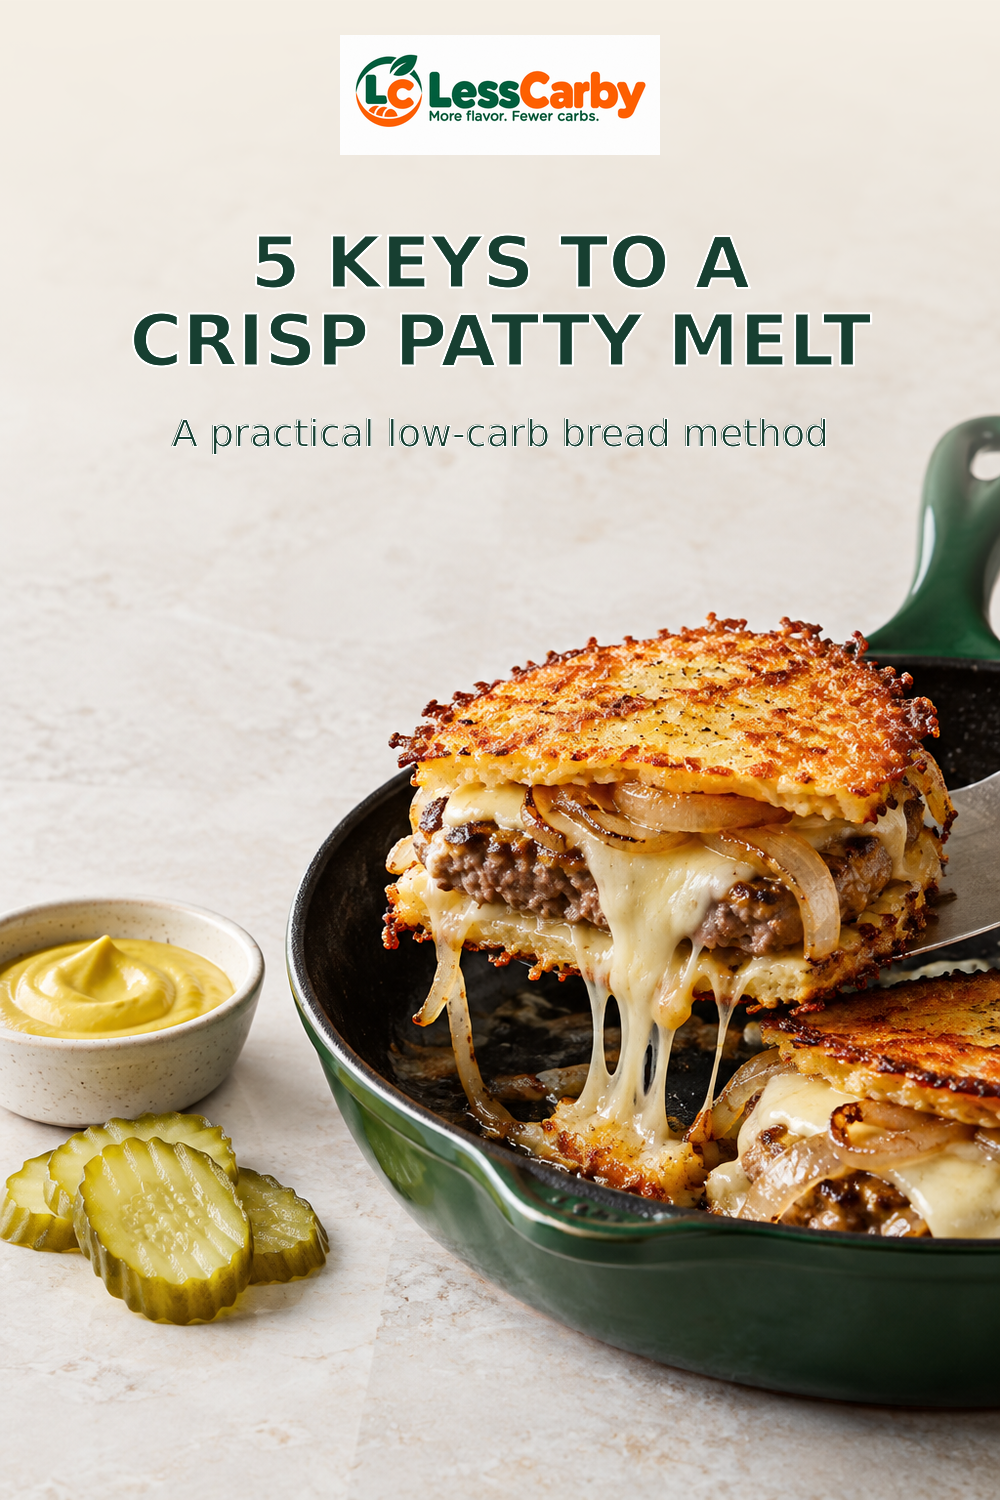
Brown the onions until dry and jammy, shape thin patties, cook the beef to 160°F, use a light coat of fat, and griddle over medium-low heat. Those five choices do more for a crisp low-carb patty melt than piling on extra ingredients.
Save This Post on Pinterest
Keep the full method handy for your next skillet lunch. Tap either image to save the exact live pin.
Plan Your Week with Our Free Meal Planner
Choose seven days of meals, adjust portions, and download your shopping list. No email signup needed.
Open the Free Planner →
