

For low-carb bread, choose a toaster that fits your everyday slices, raises small pieces within easy reach and has controls you can read at a glance. A frozen-bread setting is worth considering if you keep most of your loaf in the freezer. Those practical details would come before a touchscreen or a long list of presets on our shopping list.
Start with the annoyance you want to solve. Perhaps your homemade slices are too long for the slots, or the last piece of a small loaf sits too low. You may simply want a toaster that is easier to clean. There is no need to replace an appliance that already handles your bread comfortably.
Our buying priorities: bread fit first, easy retrieval second, then the controls and capacity you will actually use. Check the instruction manual, counter space and return terms before ordering.
The original AI-generated illustrations in this guide show generic, unbranded appliances and features. They do not depict or compare specific products.
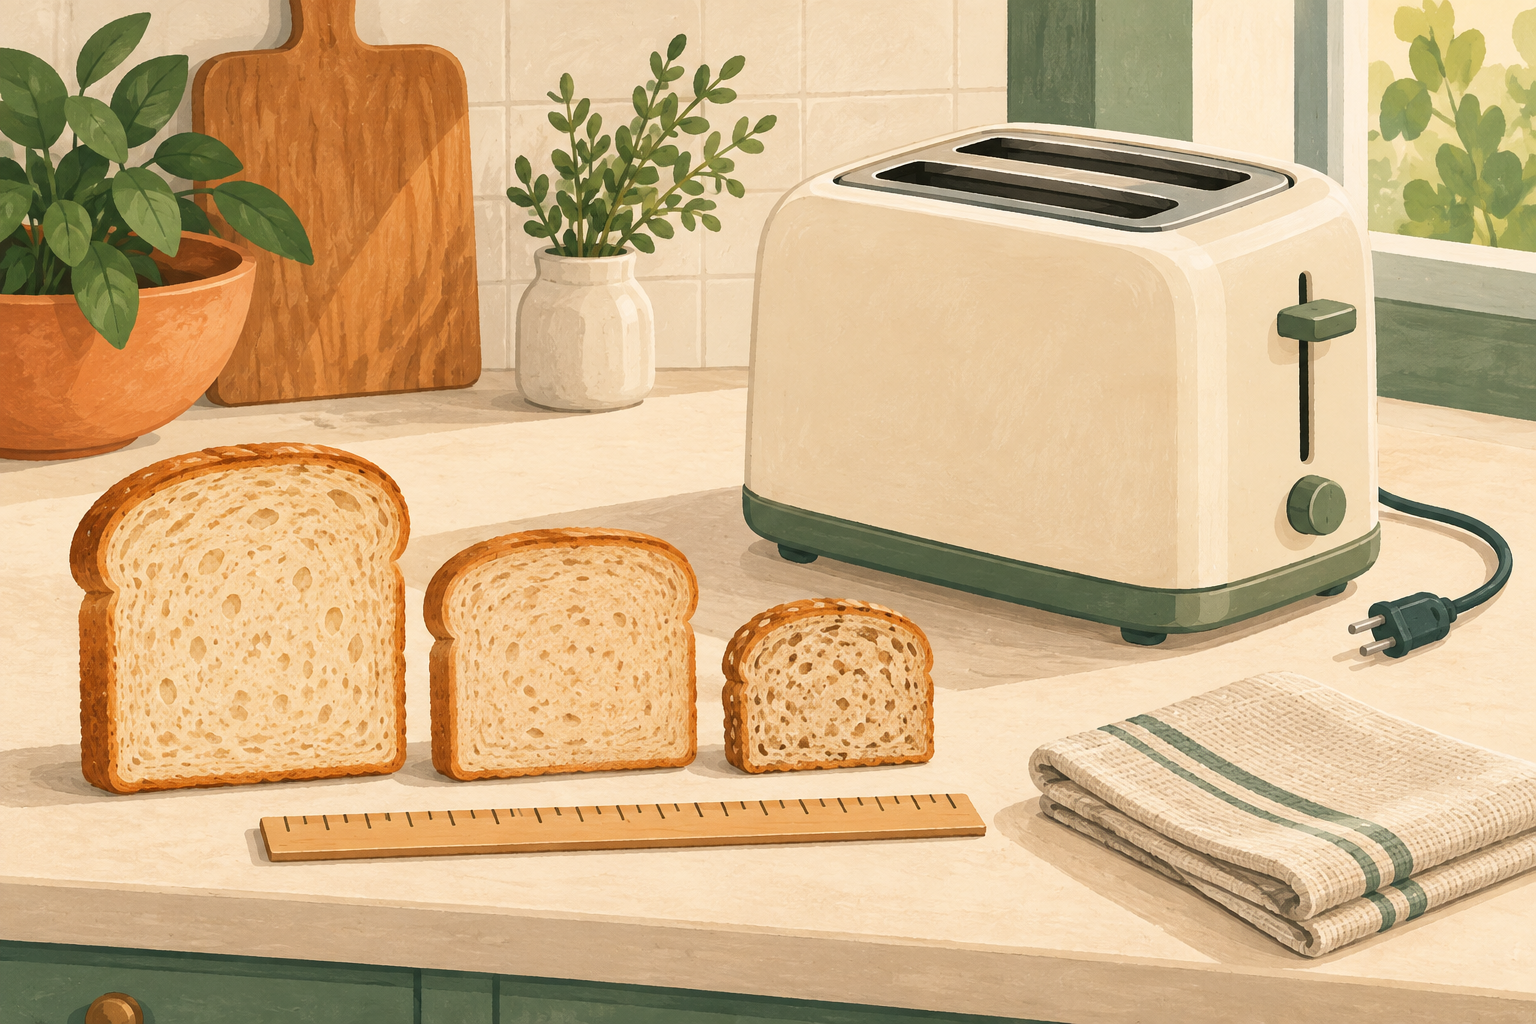
1. Check the slice, not just the outside of the toaster
Measure a typical slice on a cutting board: its length from side to side, height and thickness. For homemade bread, include a slice from the widest part of the loaf. Write those measurements down before shopping.
Then look for the manufacturer’s interior slot dimensions. An outside width describes the appliance on your counter, not the space available for bread. Likewise, an “extra-wide” slot may suit a thick slice without being long enough for a broad one.
Ask about any missing dimensions instead of estimating from a product photograph. Slot depth and the carriage position also affect how accessible a short slice will be. Never force bread into a slot or insert a ruler or other tool into a toaster to measure it.
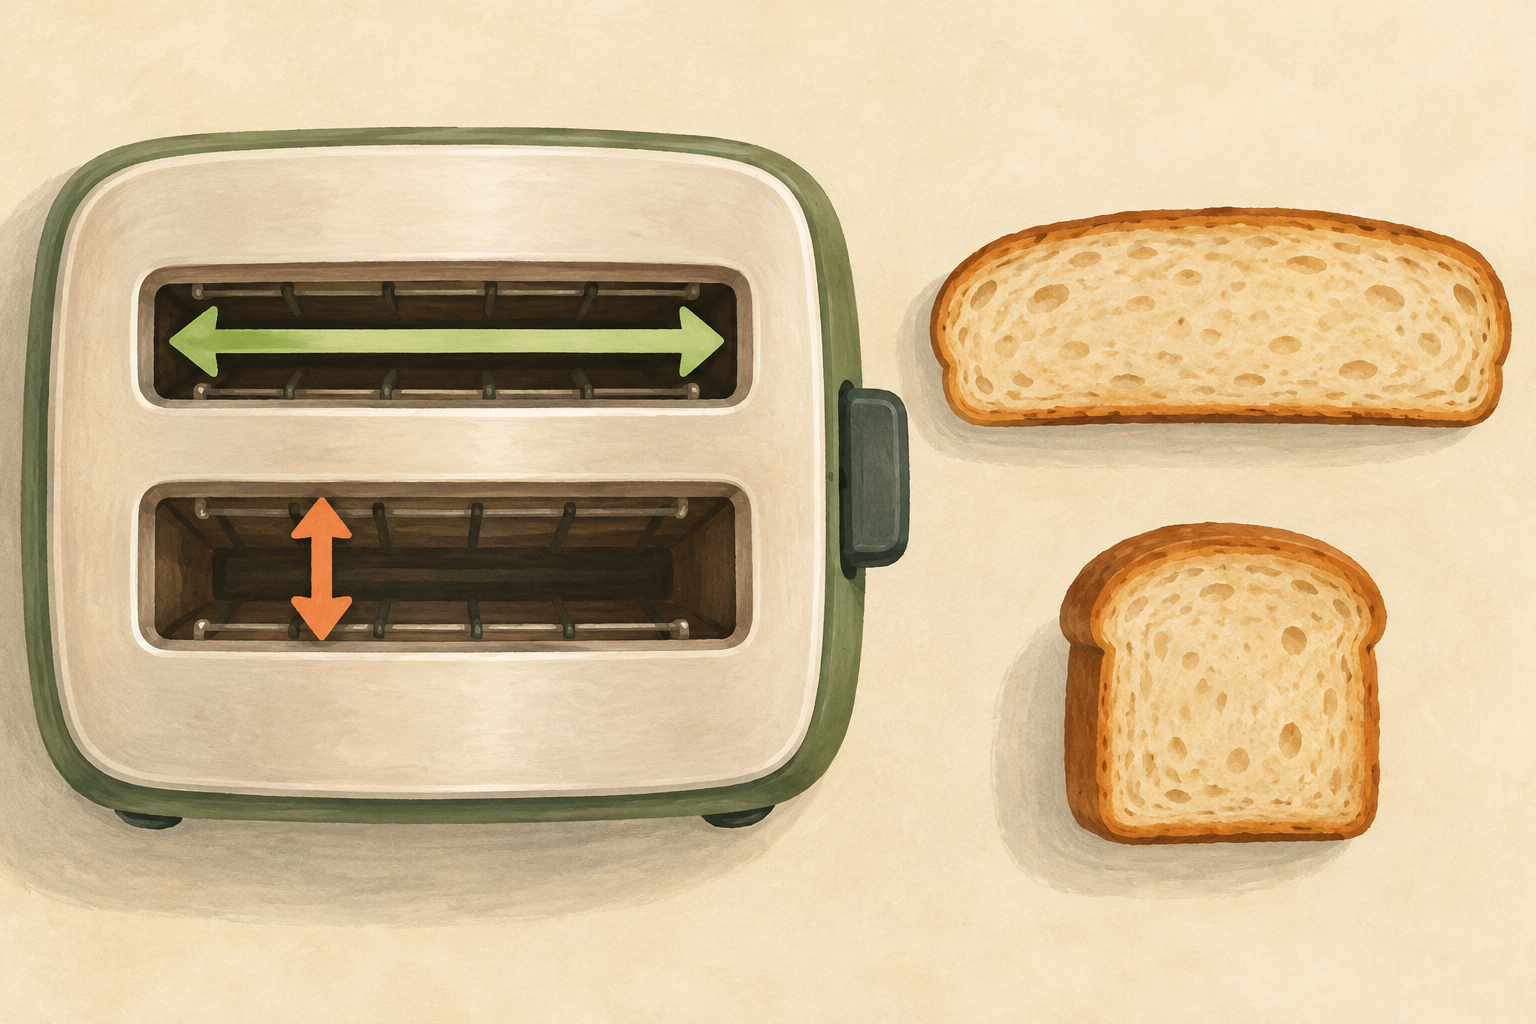
If you switch between packaged sandwich bread and homemade loaves, compare both shapes. A longer slot may be useful, but only if the rest of the fit works too. Our loaf-pan guide can help you think through the shape of the bread you bake.
2. Look closely at lift and everyday controls
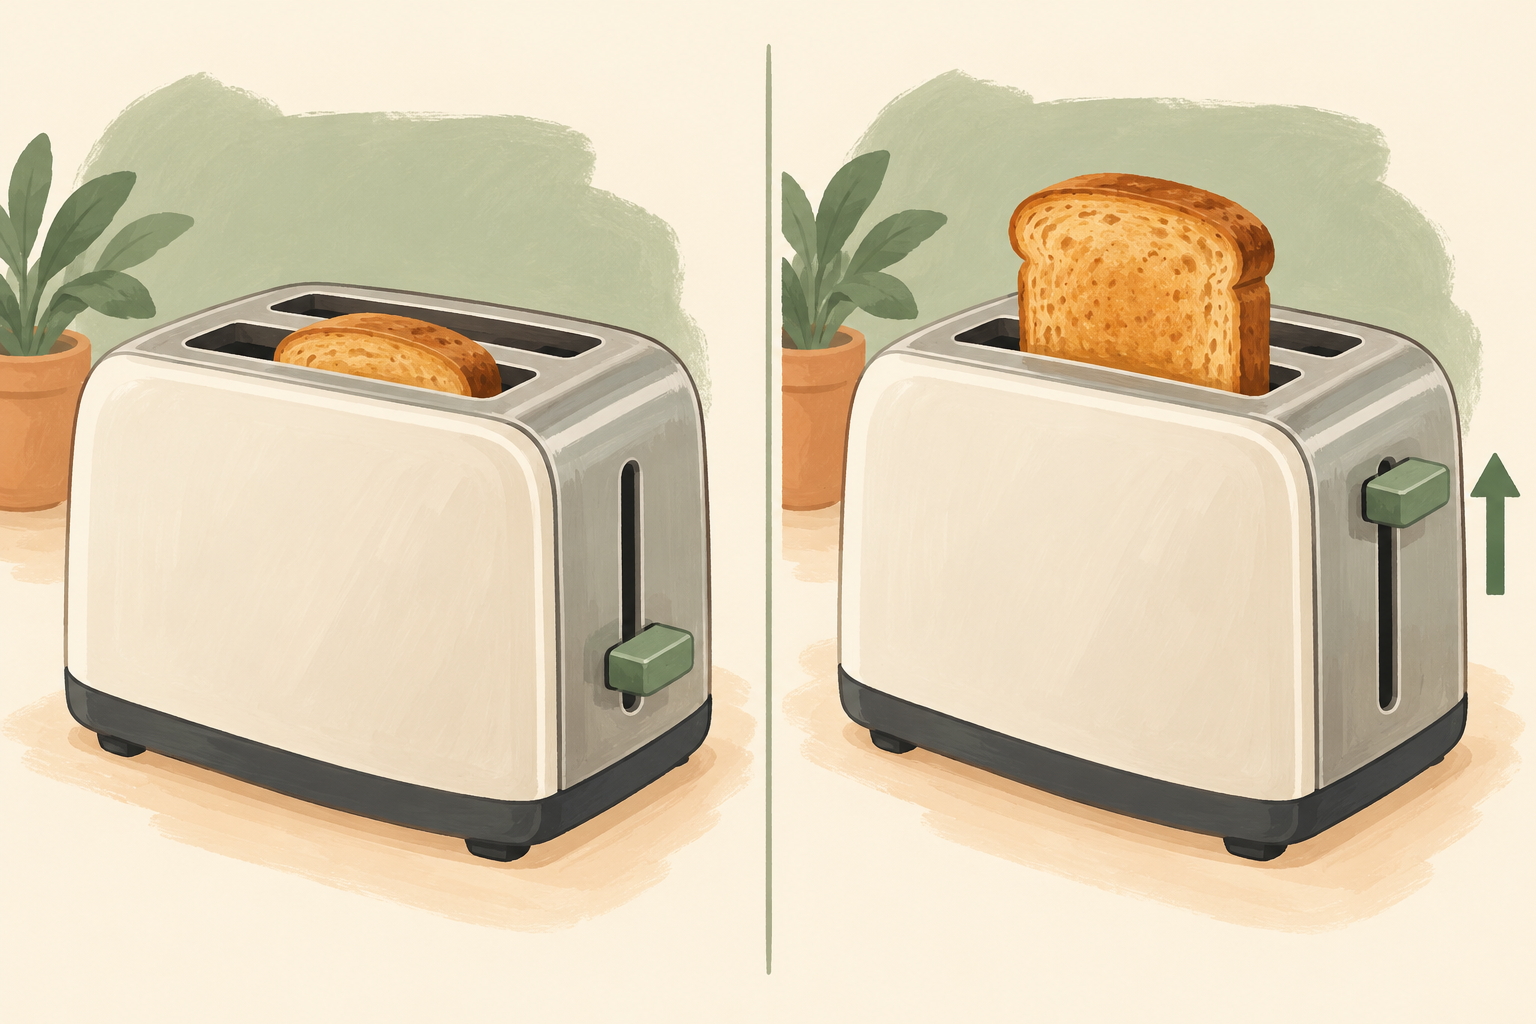
Extra lift raises the bread carriage farther at the end of a cycle. A mid-cycle inspection feature lets you check the toast while it is cooking. They serve different purposes; the manufacturer manual consulted for this guide describes them separately.
For short slices, we would prioritize easy retrieval. For someone learning how a new loaf toasts, a clearly marked cancel control is useful. An inspection feature is an optional convenience, not something every toaster needs.
Look at the controls in a clear photograph or in person. Can you read the shade setting without leaning over the slots? Can everyone who uses the kitchen reach the lever comfortably? Would a simple dial be easier than a menu? These are better questions than how many programs appear on the box.
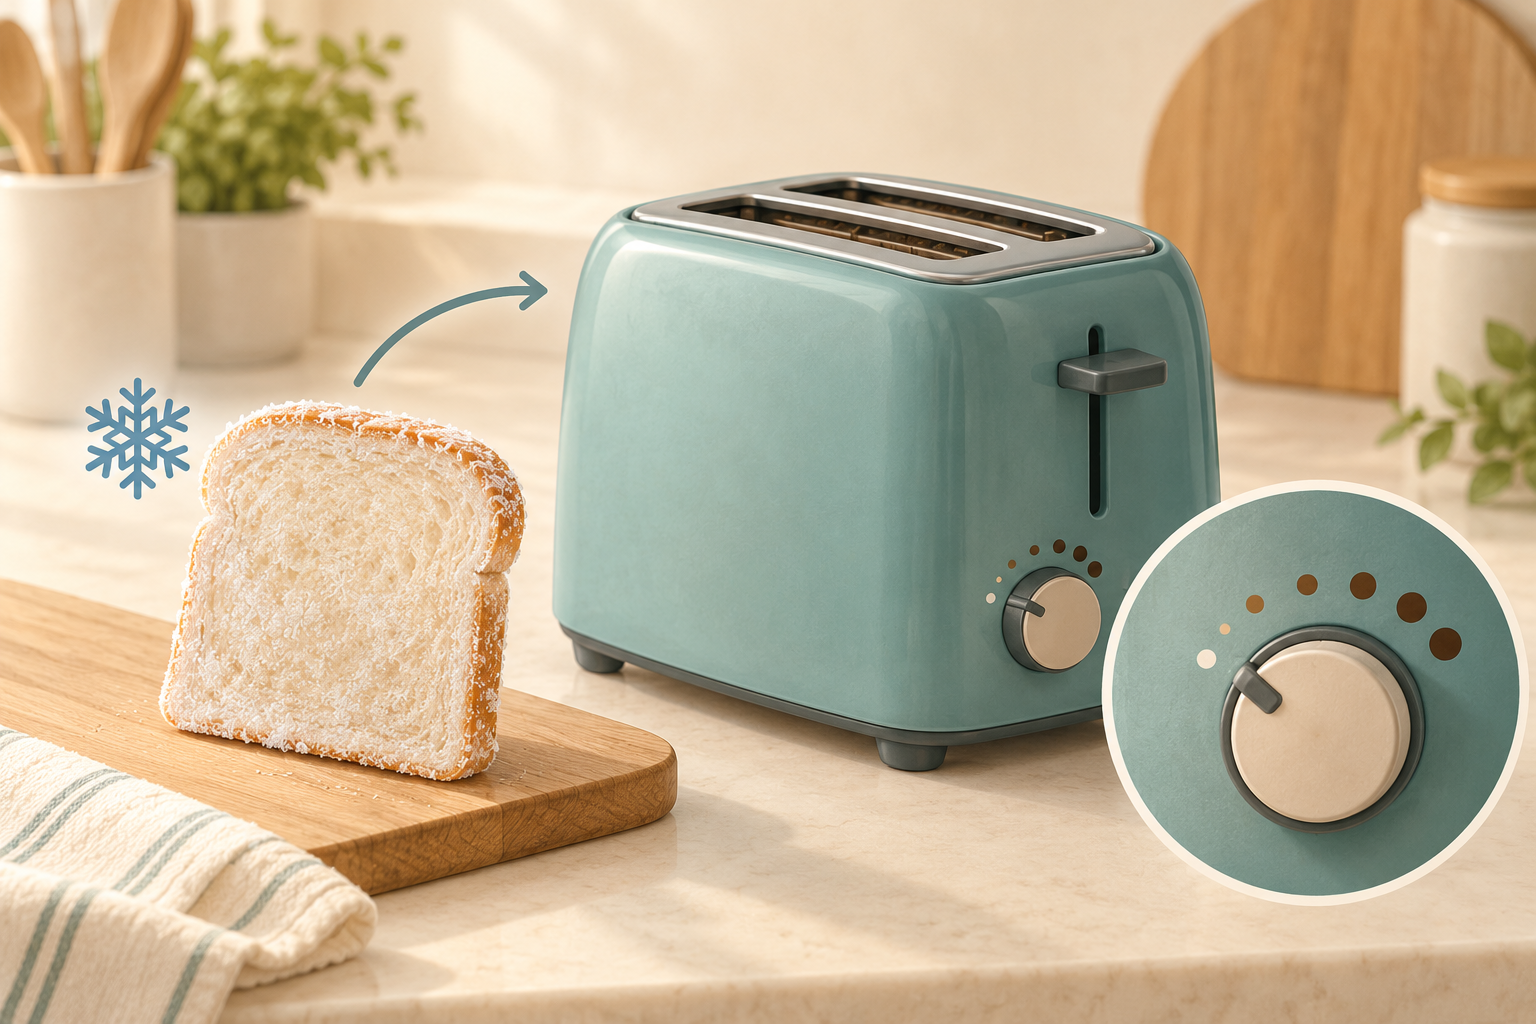
3. Match the settings to your bread routine
If your bread usually comes from the freezer, check that the toaster is designed for frozen slices and read how its defrost function works. Some functions extend the cycle; do not assume every brand uses the same sequence or timing.
Reheat and bagel buttons may be useful if you need them, but check their exact purpose in the manual. Avoid paying extra for functions you cannot picture using during an ordinary week.
For your first slice of a new bread, follow the package and toaster instructions and stay nearby. Adjust one setting at a time and keep a short note of what you liked. We would not promise one shade number for every loaf and appliance. For help with portioning before storage, see our guide to freezing low-carb bread.
4. Buy the capacity your counter can accommodate
Think about how many slices you normally need at once. A larger toaster may be convenient for a busy breakfast, but it also needs a permanent place to operate safely. An occasional guest breakfast may not justify a bigger appliance every day.
Measure the intended location, including room to reach the controls and pull out the crumb tray. Follow the manual’s operating clearances, rather than treating the space where you store the toaster as suitable for use. Keep it away from water and leave the cord where it will not catch on passing objects.
Check the exact appliance’s voltage and plug requirements for your country. In the United States, the Electrical Safety Foundation recommends independent testing-laboratory approval, such as UL, ETL or CSA. A convenient shape or attractive finish is no reason to skip the electrical checks.
5. Make cleaning easy enough to do regularly
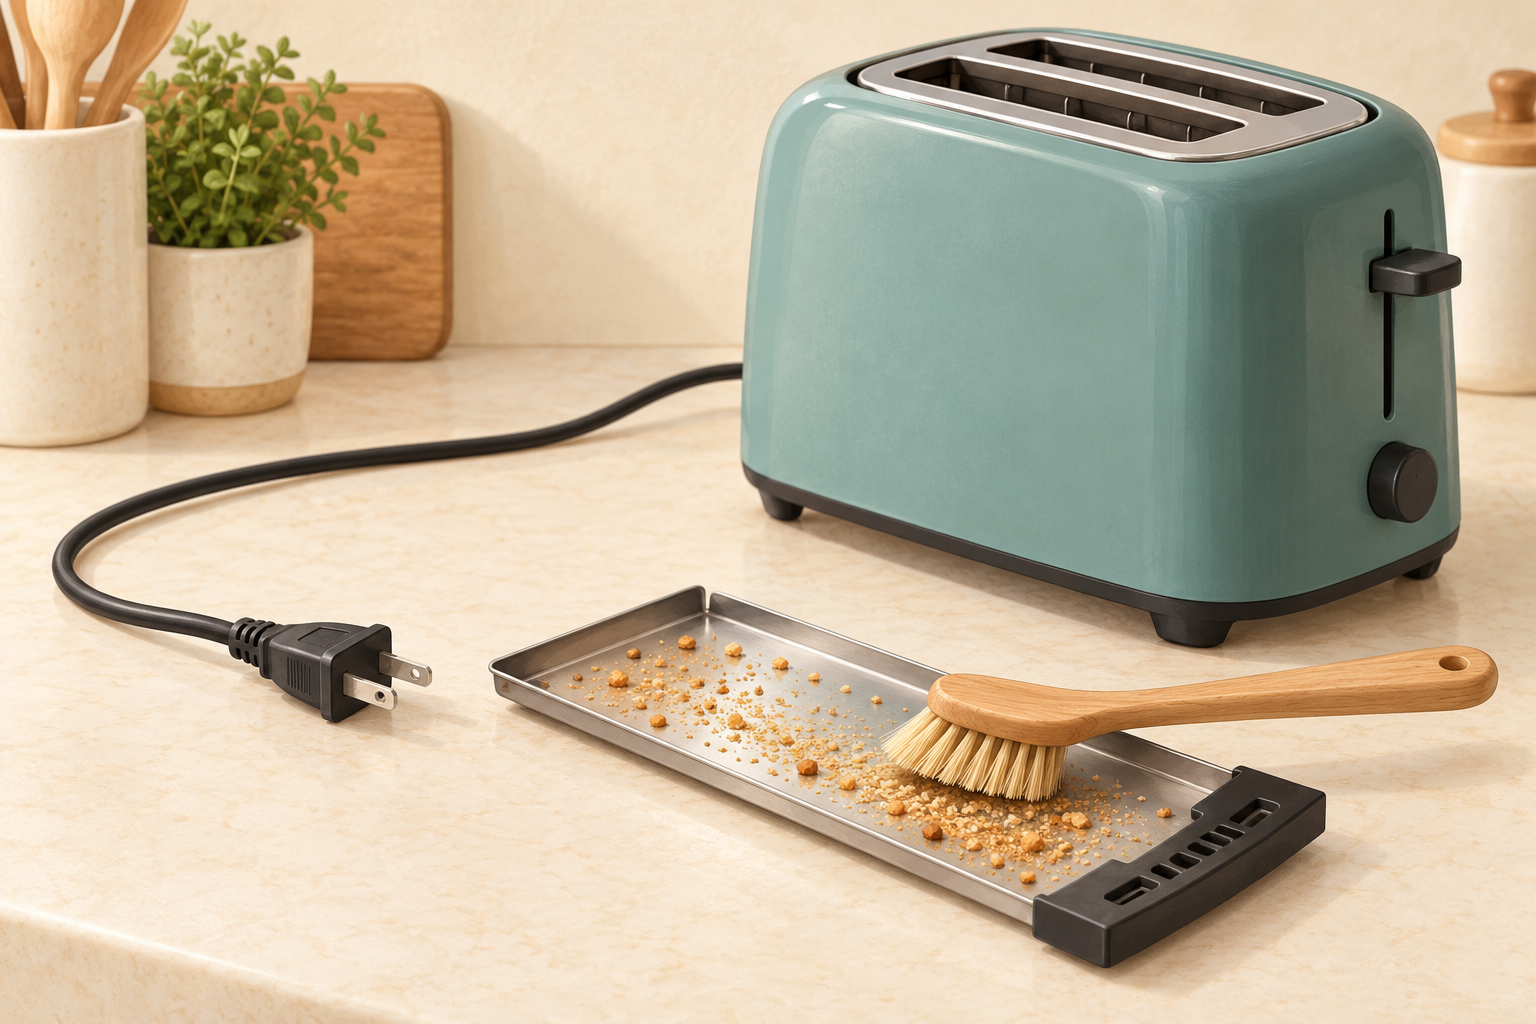
Before buying, find the cleaning instructions and the crumb tray in the product photos. Check which direction the tray slides out. A tray that cannot clear the counter lip or a nearby appliance will be an everyday nuisance.
Keep the safety routine simple. Unplug the toaster and let it cool before cleaning. Empty the crumb tray regularly and refit it before use. Keep fingers and metal utensils out of the slots; never pour water or cleaner inside. If bread jams, unplug, let the toaster cool and follow its manual. Stop using a damaged or sparking appliance. See Electrical Safety First’s toaster guidance.
Stay nearby while it is running and unplug it when it is not in use. The Electrical Safety Foundation’s appliance checklist is a useful reminder to inspect the cord and plug as well as the appliance itself.
When a different appliance makes more sense
If your main goal is an open-face cheese melt, choose an appliance whose instructions allow that food, such as a suitable countertop oven. Do not try to turn a slot toaster into a sandwich grill. For a small kitchen, consider which job your current equipment cannot already do before buying another appliance.
For plain toast, a straightforward toaster may be all you need. We would choose the simplest option that solves your regular fit, retrieval or capacity problem, rather than buying a larger machine for features that sound useful only on the sales page.
Questions to settle before you buy
Do I need a special toaster for low-carb bread?
Choose around your bread’s size and your routine. We would not pay extra solely for a “keto” label. Confirm that your slices fit, that you can retrieve them comfortably and that the manual covers how you intend to use the appliance.
What is worth checking beyond the features?
Read the return conditions, warranty and support information for the exact model and seller. Save the receipt and manual. If an important interior measurement remains unknown, get an answer before ordering.
Our verdict: spend on bread fit, accessible controls and easy cleaning first. Add frozen-bread functions or extra capacity only when they match the way you already use your kitchen.
Explore more practical equipment advice in Kitchen and Baking.
Editorial approach: a practical buying framework, informed by appliance instructions and electrical-safety guidance checked on October 26, 2026. Recommendations reflect our priorities for everyday use; no hands-on comparative testing or product-performance scores are claimed.
Plan Your Week with Our Free Meal Planner
Choose seven days of meals, adjust portions, and download your shopping list. No email signup needed.
Open the Free Planner →
